Sculpting a Head with ZBrush
I recently decided to create a logo for my project Aeneas. I knew creating logos requires a specific set of skills but really wanted to give it a try: what about sketching some concept on pen and paper, then vectorizing it on computer? It proved even harder than I had expected: after spending a couple of evenings using various techniques to sketch ideas which all ended up in the garbage bin, I completely discarded the idea of doing something in 2D. Definitely too hard for now, especially as I don’t have a clear idea of what I want to achieve.
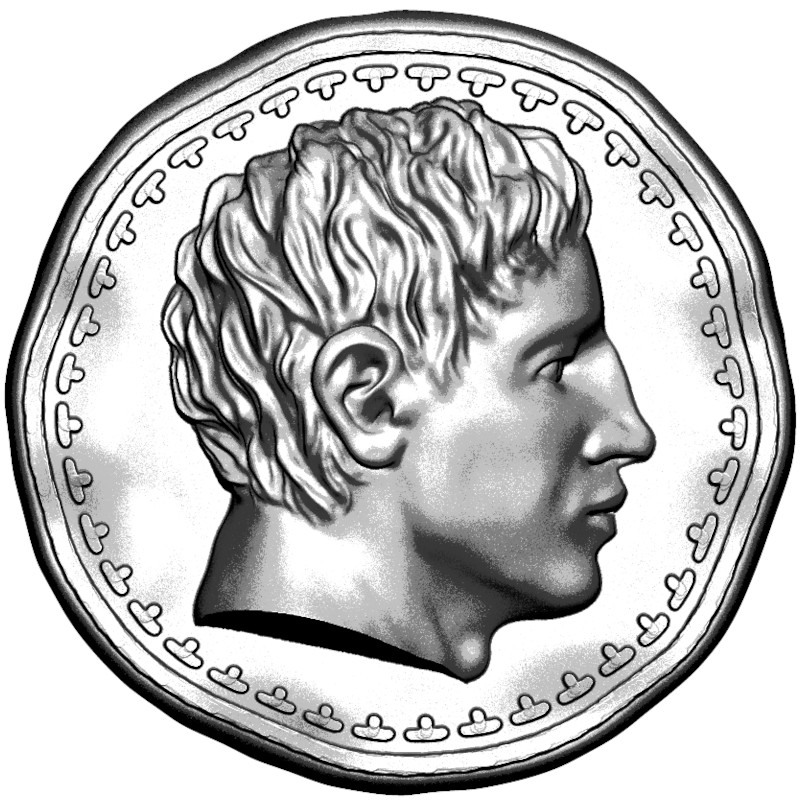
I then got the following idea: what about doing some sort of an antique coin, with a sculpted profile? I could model the coin in 3D then stylize the render a bit. That would actually be an excellent opportunity of going back to 3D sculpting, which is something I hadn’t done in many, many years. I had also just replaced my >12 year old graphic tablet with a new one, and 3D sculpture was a perfect opportunity to play with it. I thus set off on this project.
If you don’t know what 3D sculpting looks like, here is an overview. Traditionally, surfaces of 3D objects are modelled with triangles, which are themselves often grouped in quads. As the modeller has to manipulate each vertex one by one, those models often have a relatively low polycount. This polycount varies with the topic or the context, for instance whether you model an object for a video game or a movie quality render, which goes in the foreground or the background, etc. For a face, I would often end up with a model made of a few thousands triangles. In contrast, with 3D sculpting we start with a base shape, often created with the above method, subdivide this shape a lot until it has from hundreds of thousands to tens of millions triangles (and even more!), then use brushes to sculpt this mesh. There exists various tools to sculpt in 3D: I personally use ZBrush.
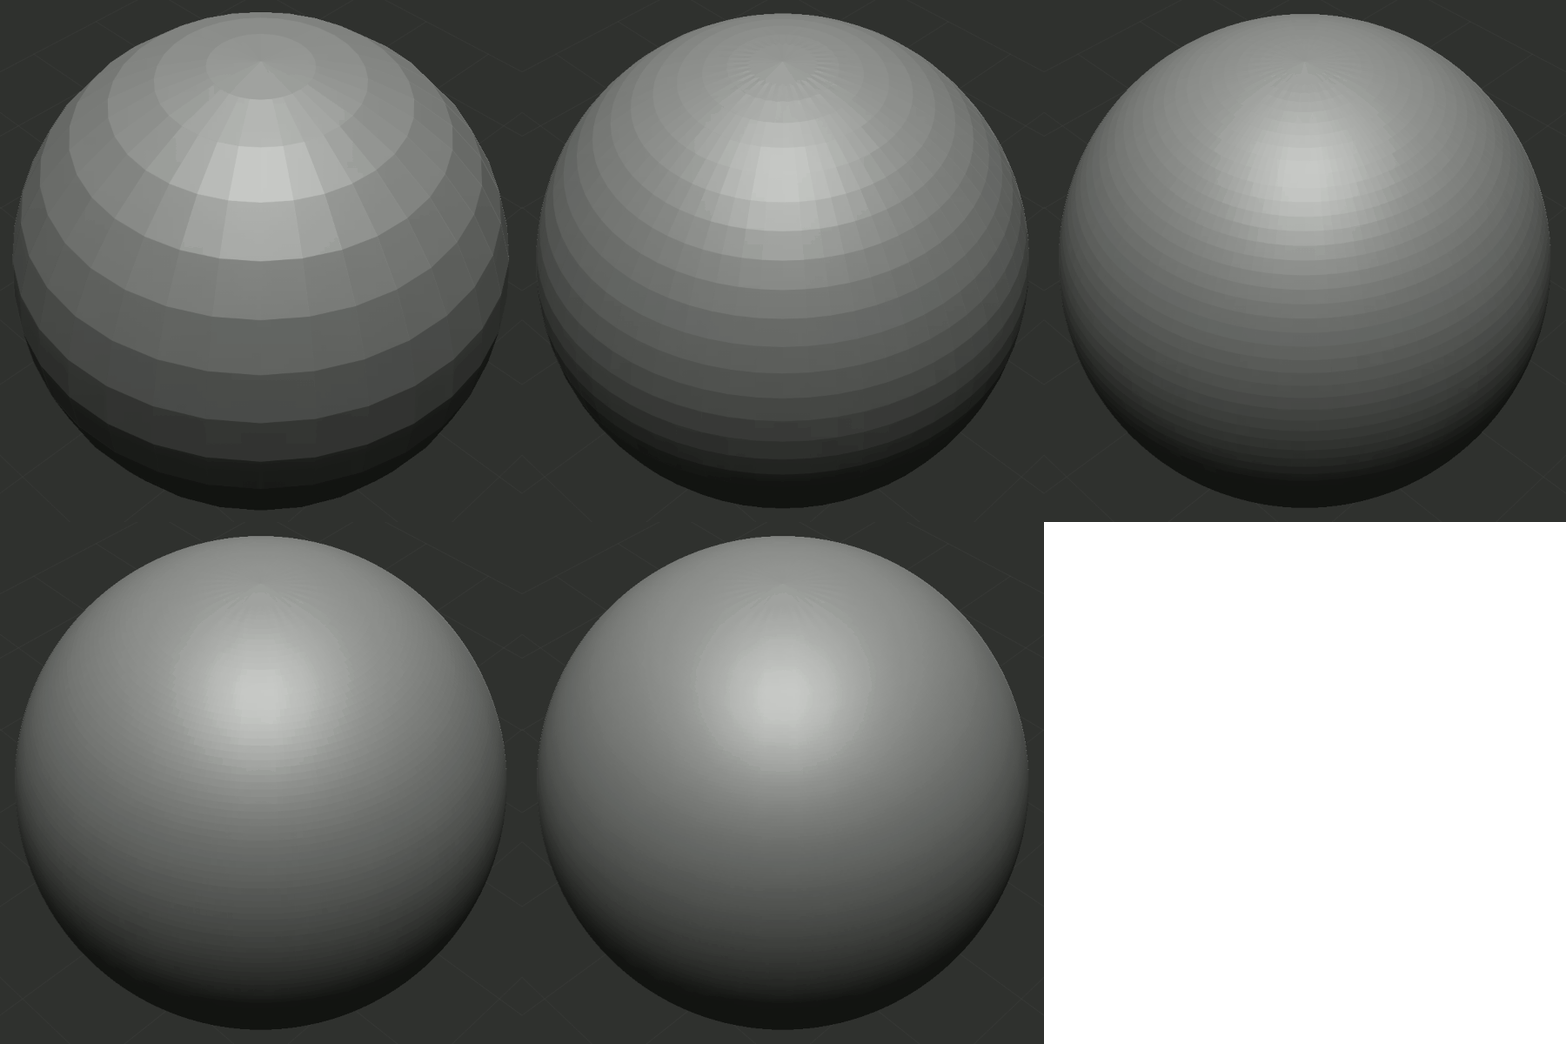
For instance, you can see several subdivision levels of a sphere below. It starts with 482 vertices and ends with more than 100k vertices (ZBrush doesn’t give the polycount in triangles). Whenever the subdivision level increases, every (quad) face is split into four, and the angle between the edges is smoothed. At some point you actually stop noticing that the surface is made of flat faces. Note that on low-poly models, we usually render the faces in such a way that they look smooth, to hide the fact that models are actually made of a limited number of flat faces.
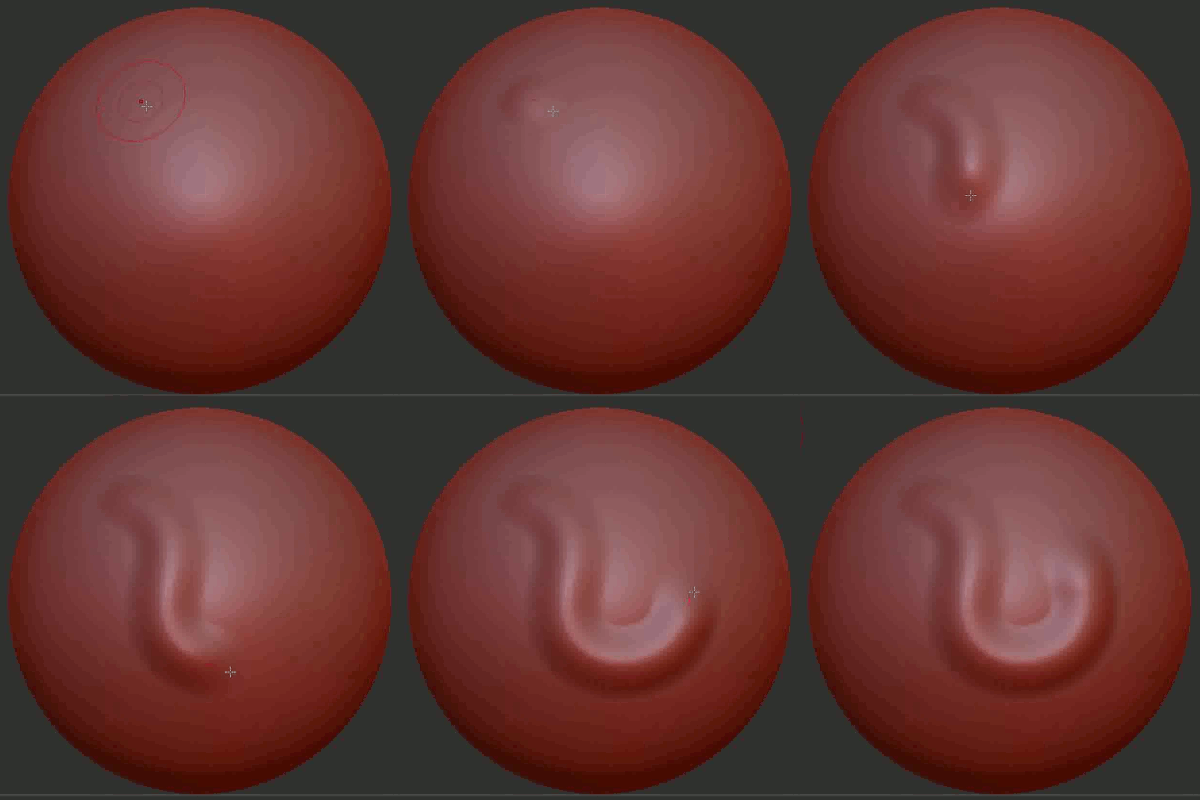
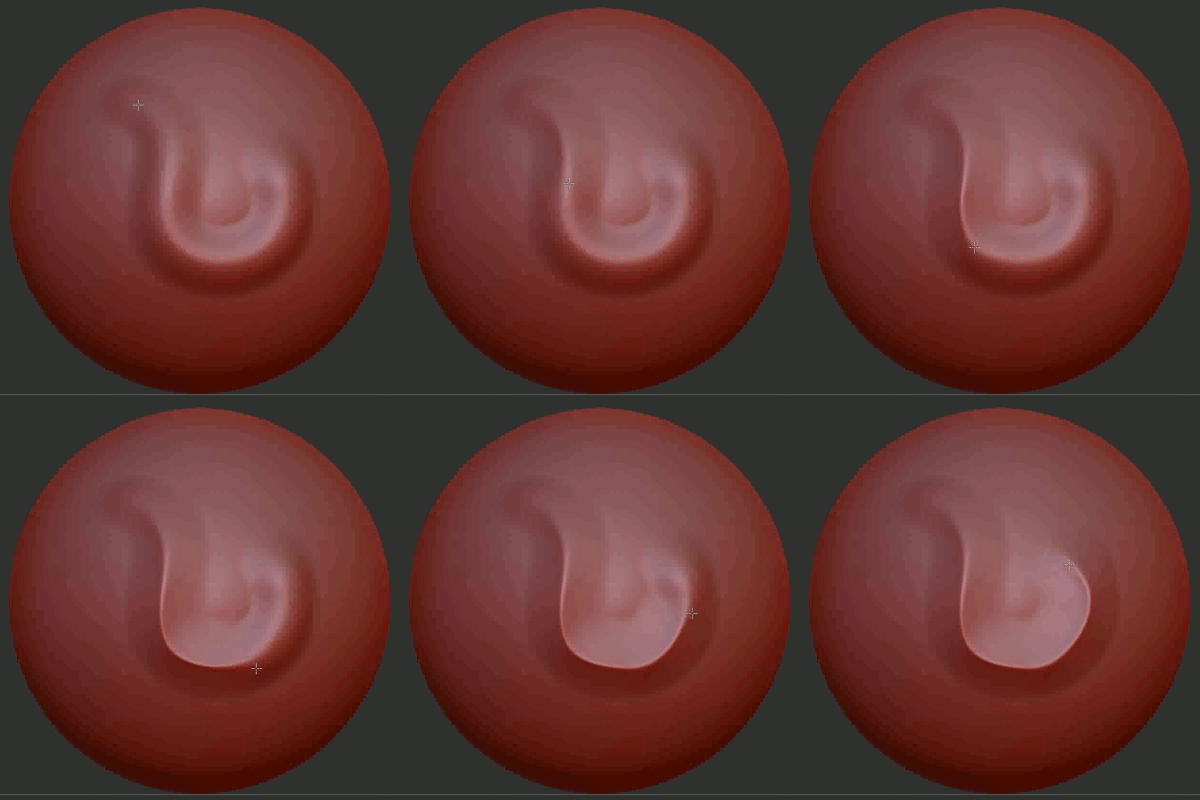
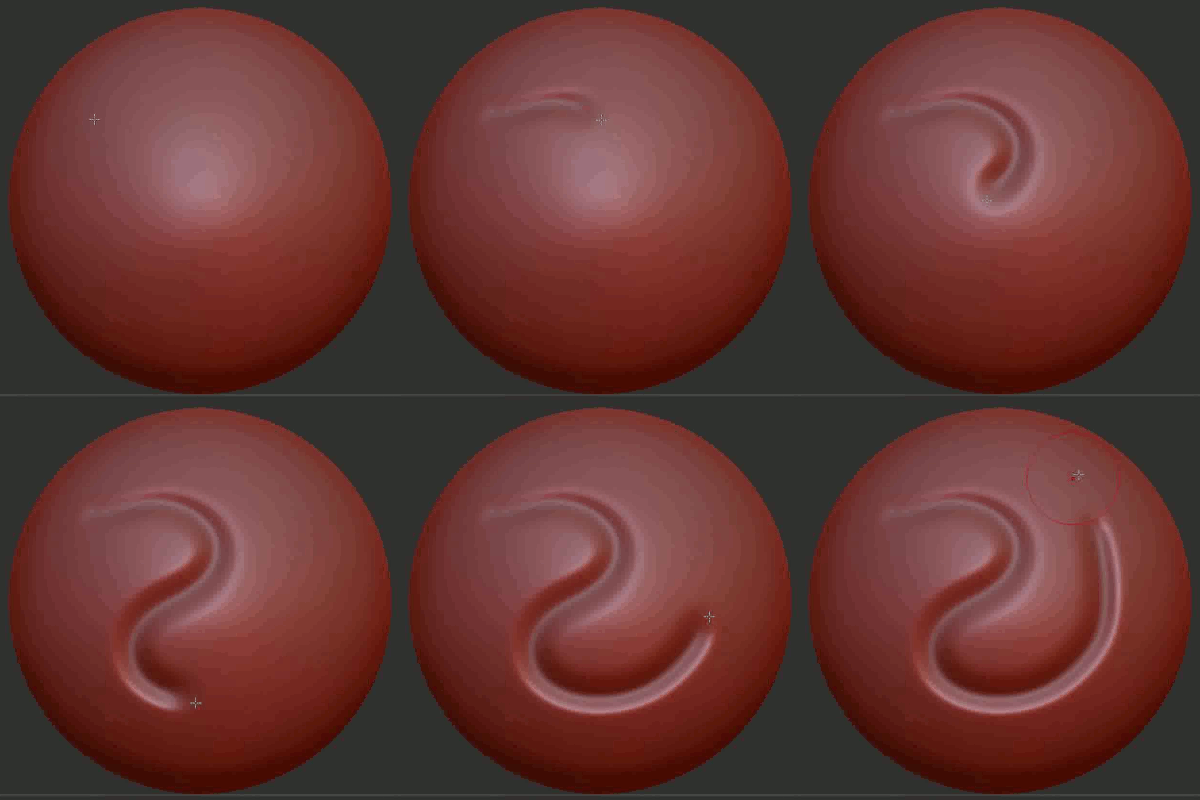
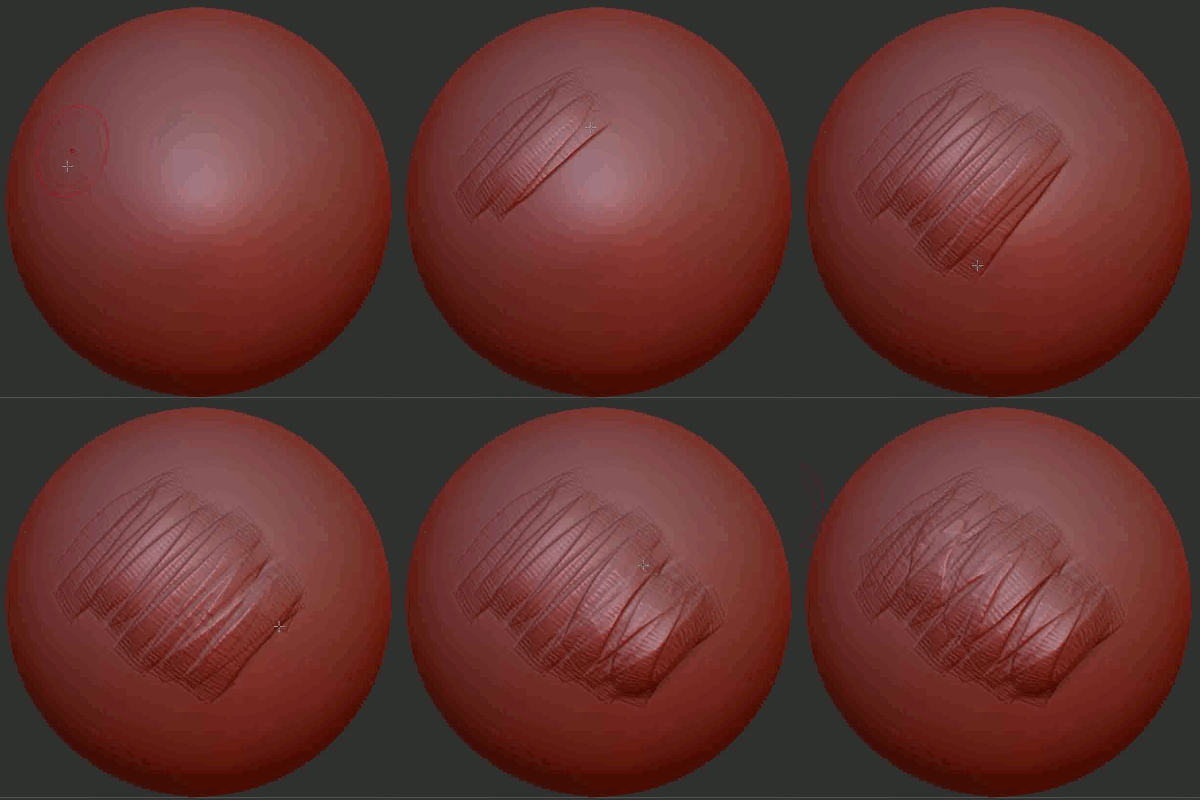
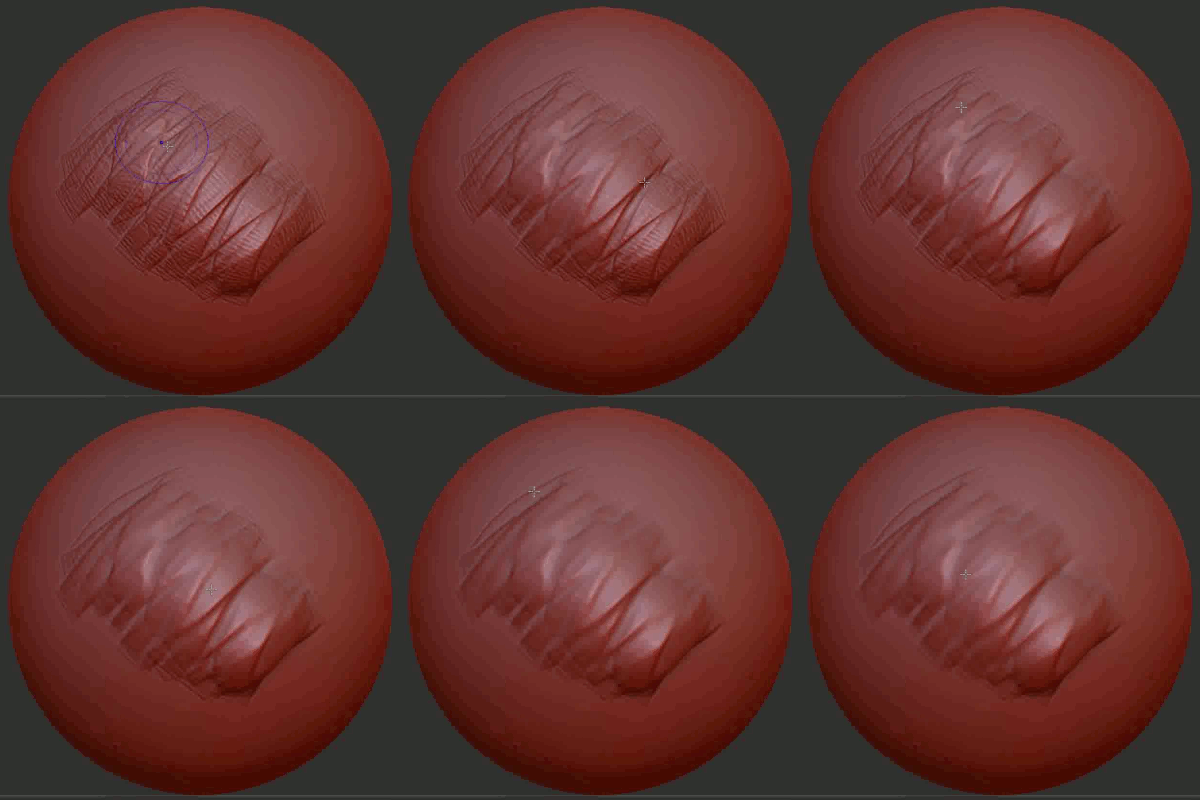
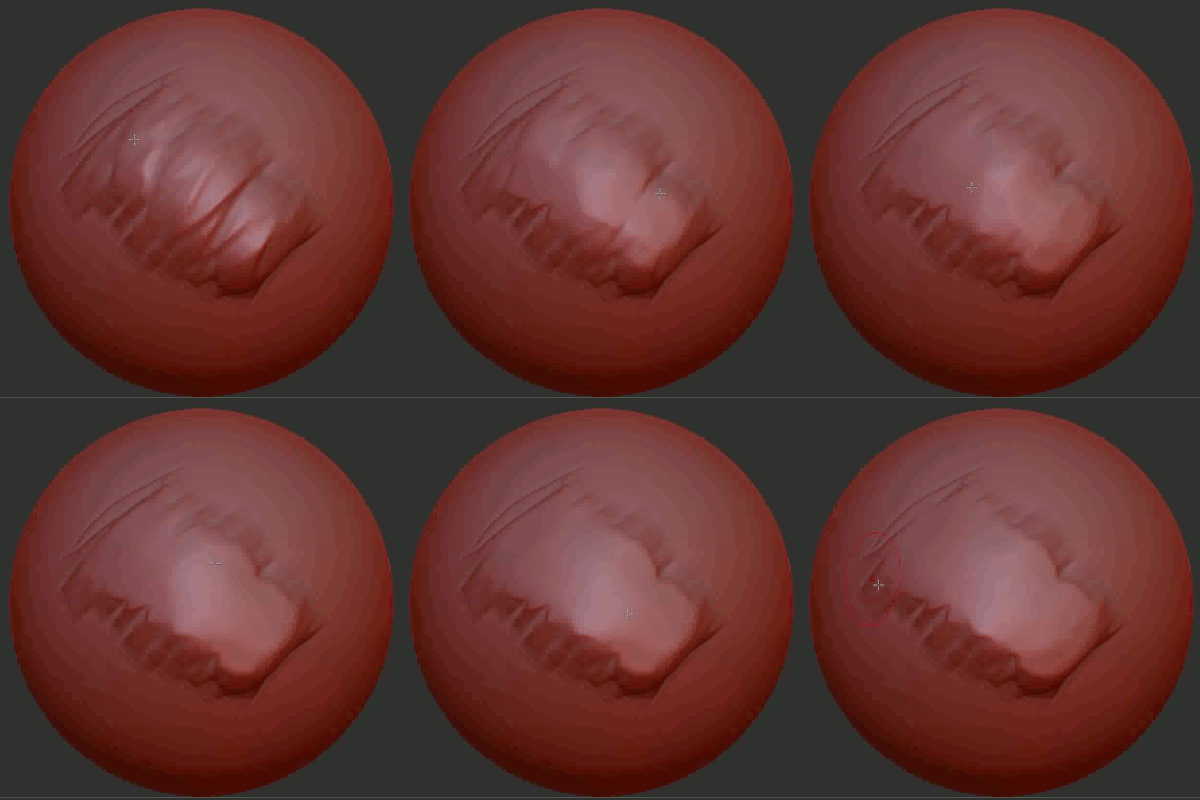
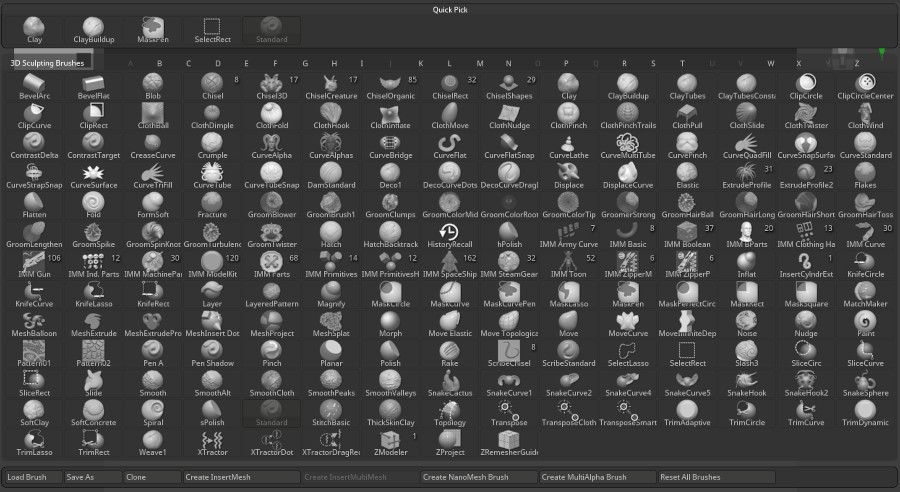
Once there are enough polygons, we can use brushes to sculpt the model by moving groups of vertices. For this particular project I decided to go back to basics by using a limited selection of brushes: I did everything with the 6 brushes shown below.
|
|
|
|
|
|
Of course, there are plenty of brushes available by default in ZBrush. It is also possible to tune the behavior of each brush by playing with various parameters: the size and intensity of course, but also the stroke (see the projection on the coin at the end of the post), or the alpha mask, which influences the shape of the brush.
In order to start the project, I needed a base shape from where to start sculpting the head. I usually do all my models myself, including body parts for the various creatures I make, but this time I wanted to start fast and downloaded a base mesh for the head. I ended up choosing this one on turbosquid, by the artist twiesner: all credits to him for this model. And I can’t thank enough those artists who make assets such as models and textures freely available online: it helps a lot!
I started by using the move tool to change the morphology of the face to make it closer to what I had in mind.
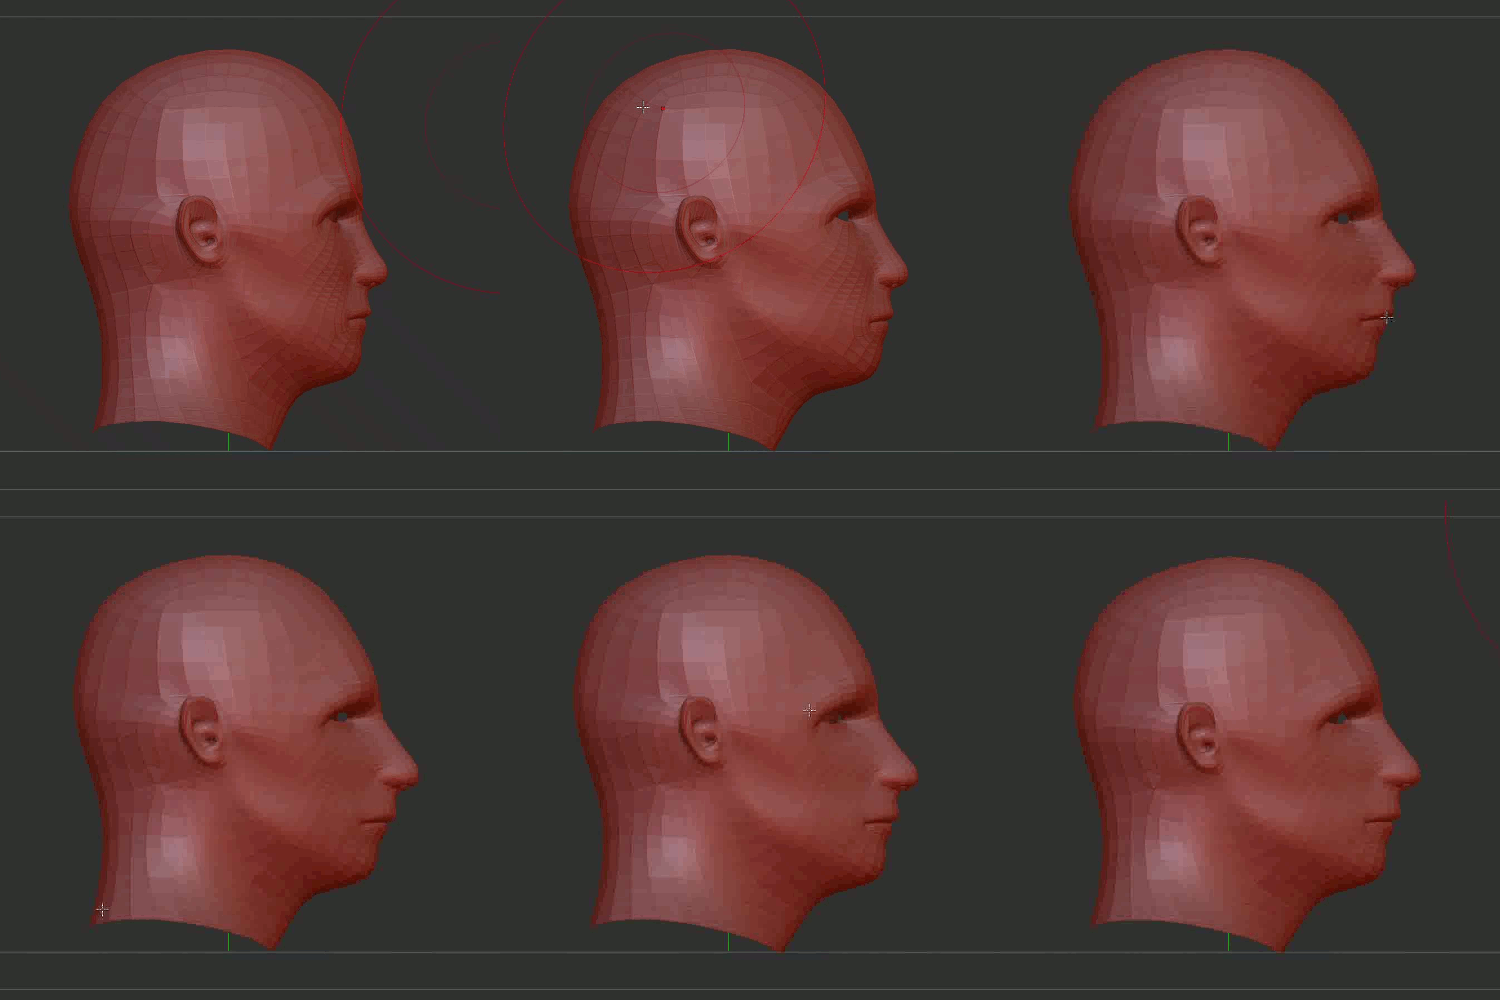
I then worked on the details. I had to experiment a bit because I hadn’t sculpted anything in a long time. As I wanted to create a sculpted head, I also aimed at a stylized look. As a result, I slowly converged towards the following process. First, I used the clay buildup brush to create the overall shapes by adding or substracting volumes. I then used the flatten brush to make the surfaces less roundish, and give them the look of a sculpted surface. Of course, I also used the smooth brush a lot between the various steps. The video below gives a good overview of the process I applied to the various parts of the head.
I also used the slash brush to dig crevices, for instance at the corner of the mouth, around the nose or the eyes, together with the standard brush to give a bit of roundness in some places, for instance on the eyelids. Finally, I used the pinch brush a bit, in particular around the lips.
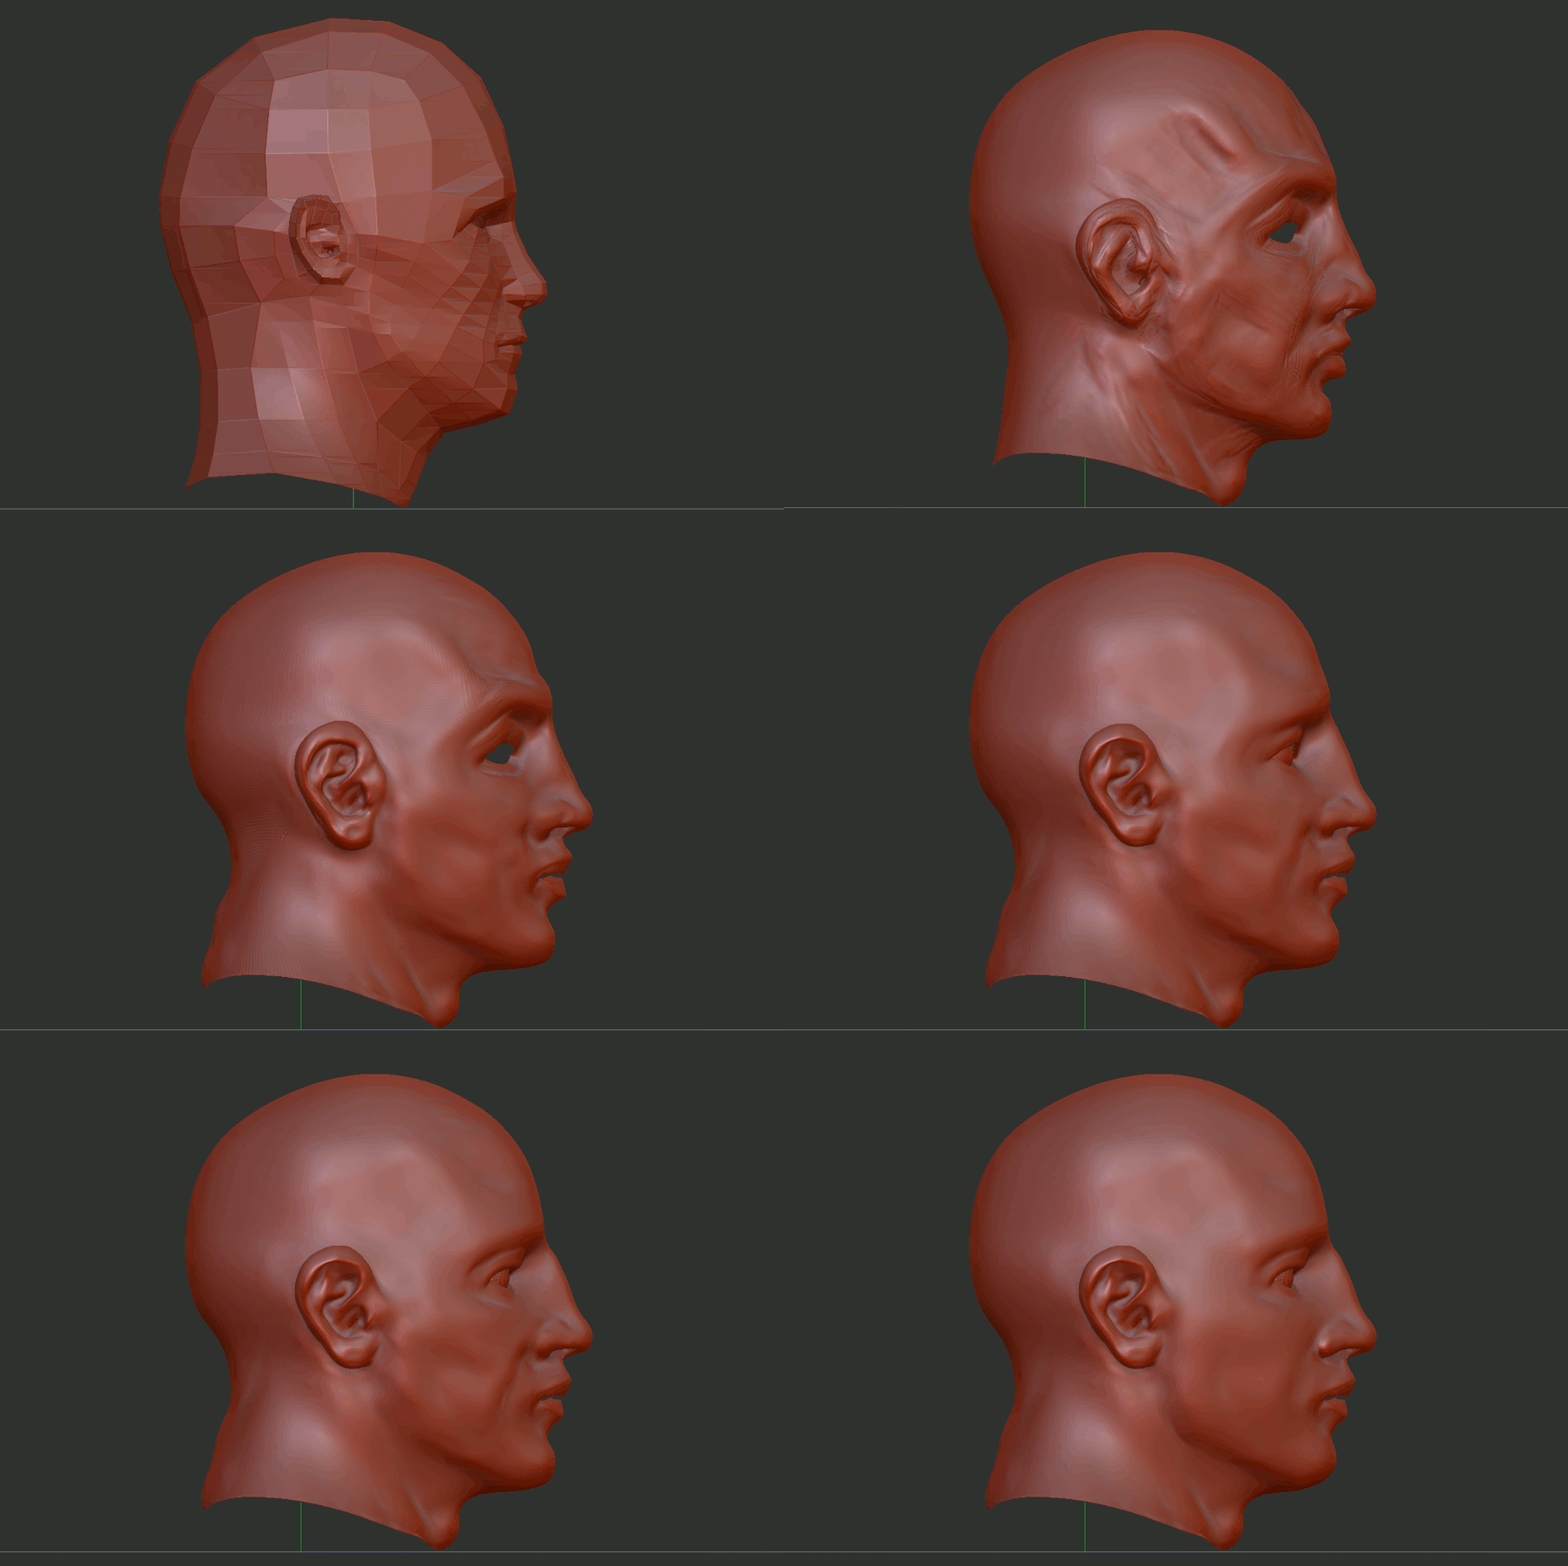
You can see some of the sculpting steps below: I placed the general shapes then focused on the details (mouth, nose, eyes, ears, etc.), regularly switching from one part to the other and progressively polishing the surfaces.
When I draw, I generally reproduce a subject I have under my eyes and focus on the way I reproduce it: by stylizing it, simplifying it, etc. In contrast, when I do 3D modelling, I generally don't reproduce a specific subject but rather invent something. This doesn't mean that I don't use references of course, and I pay attention to anatomy a lot.
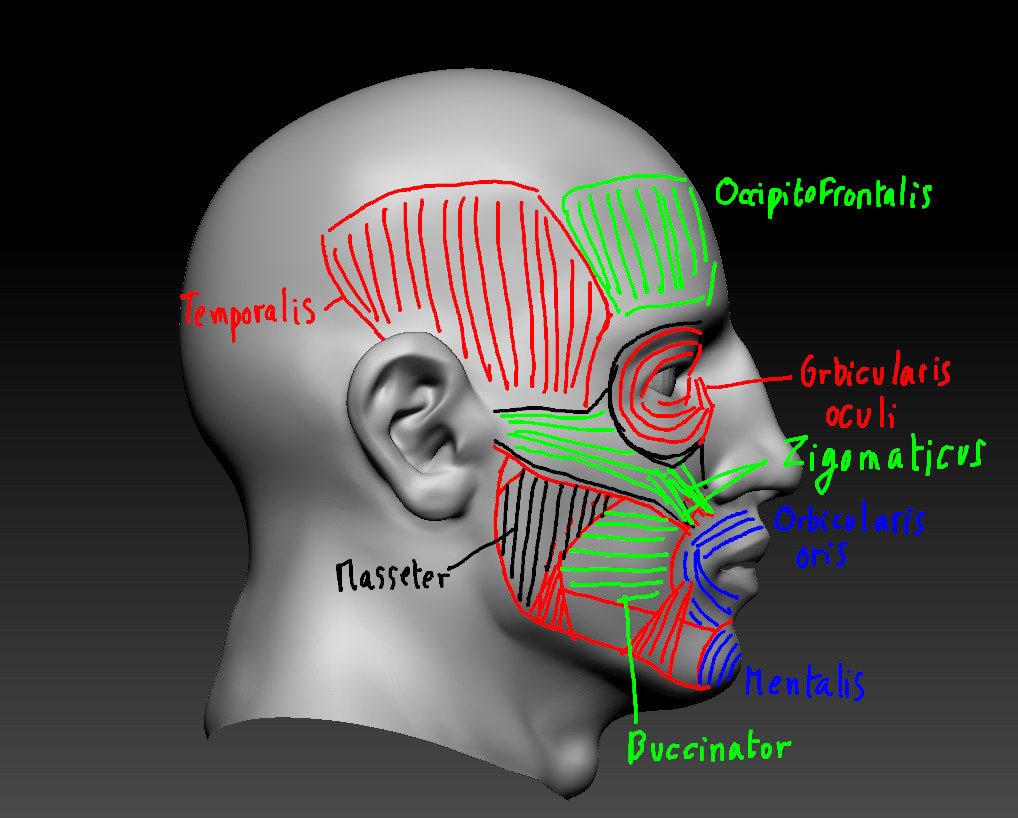
There are definitely too many bones and muscles in a human face (42 muscles!). When sculpting I always try to keep in mind the main ones, focusing on plausibility rather than exactitude. In the present case I think it overall looks ok, meaning I probably neither forgot nor invented too many muscles...
I knew I should have closed the mouth before sculpting! Using brushes on open edges can lead to weird results, especially in the presence of sharp angles. As a consequence, I ended up with the following artifacts at some point: as you can see, some polygons at the corner of the lips pointed outwards while they were supposed to point inwards.
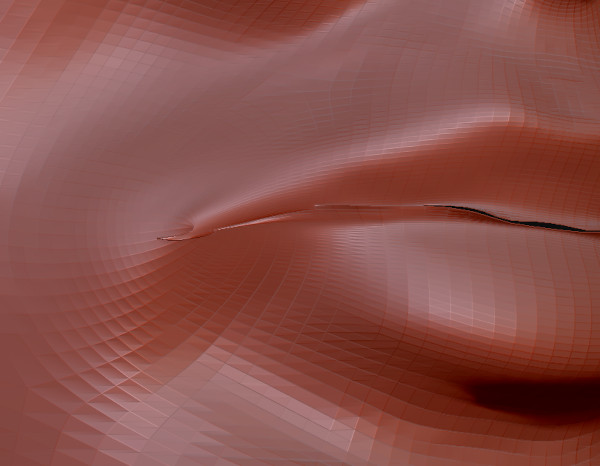
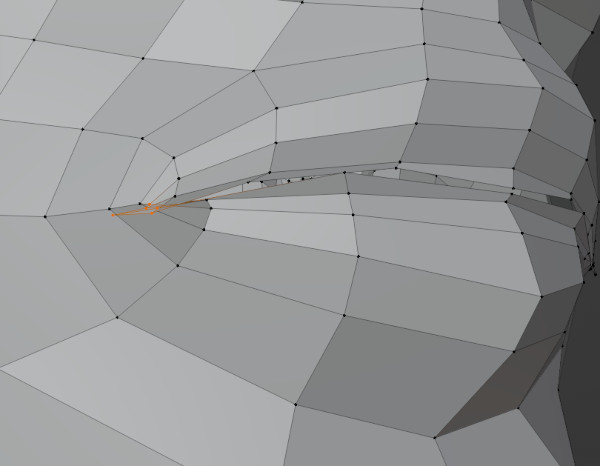
Fortunately, I was able to fix the issue by going to the slowest subdivision level, switching to Blender, moving the vertices there, and finally propagating the changes back to ZBrush. A bit of smoothing, and everything was back in order.
After doing the face, I worked on what I really dreaded: the hair. A sculpture is supposed to be stylized, and I was really not sure about how to proceed to capture the texture of the hair without doing too much. Again, I experimented a bit and finally came up with the following process. I used the standard brush with varying sizes to create hair strands, and played with the slash brush to add some details. By regularly switching between the two I was able to make the hair gradually take shape. The pitch brush helped me make the tips of the hair crisper, and at the end I used the standard brush with a bigger size to give volume to some of the strands.
The alternation process between the standard brush and the slash brush is shown in the video below.
You can see some of the steps of sculpting the hair in the animation below: I first created some rough strands, then added details, and finally gave them more volume.
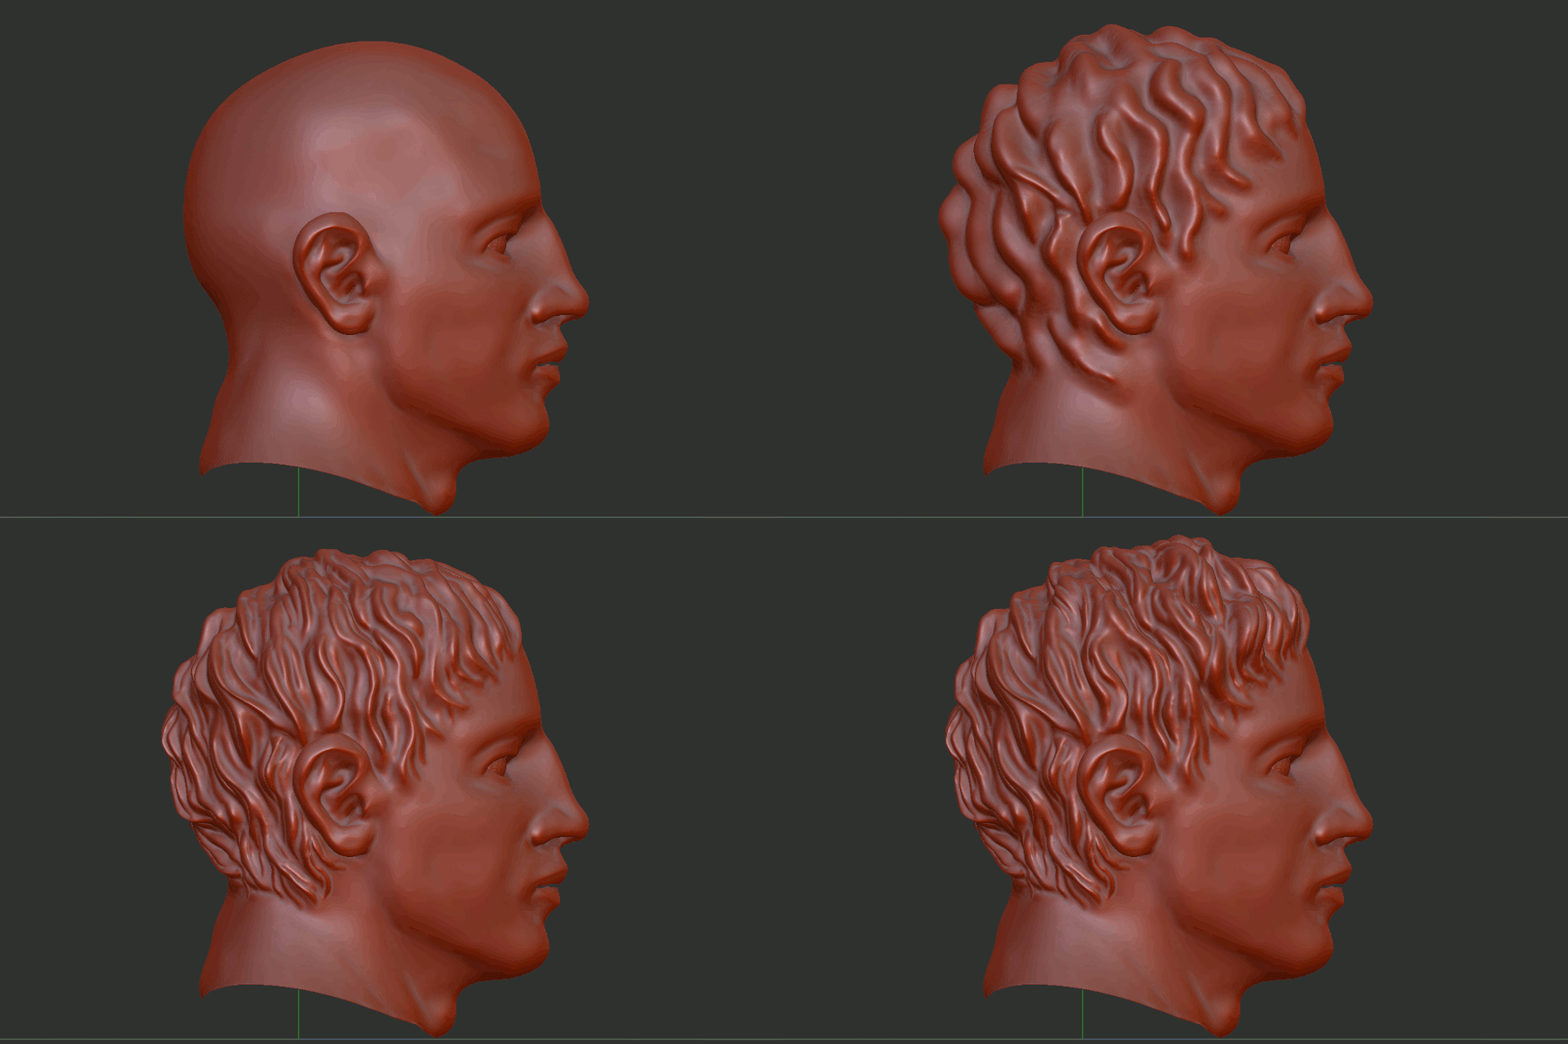
Now that the head was done, I was left with the coin. Rather than using brushes to sculpt in a free hand style, it is possible to use them to apply a single pattern to a surface by changing the stroke (from Free Hand to Drag Rectangle, see below). I used this technique to apply a projection of the head I had just modelled onto a coin.
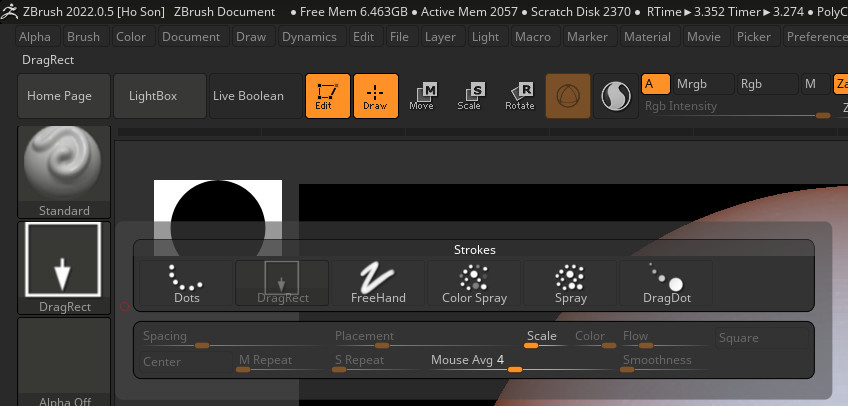
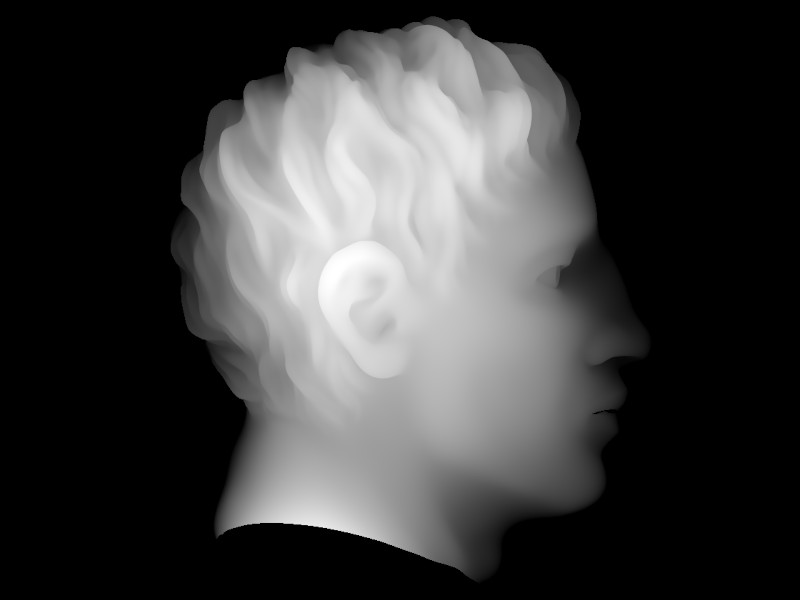
I created a very simple coin model with a cylinder, then used the depth-map of the face profile (i.e., the distance between the camera and the various points of the head) to create an alpha texture for the standard brush. By using the Drag Rectangle stroke, I was able to apply this projection onto the coin. As you can see, the whiter pixels are closer to the camera, and correspond to places of bigger volume. By using the light intensity of the depth map to control the amount of displacement of the vertices, you can in effect project a volume (i.e., the face) onto a surface.
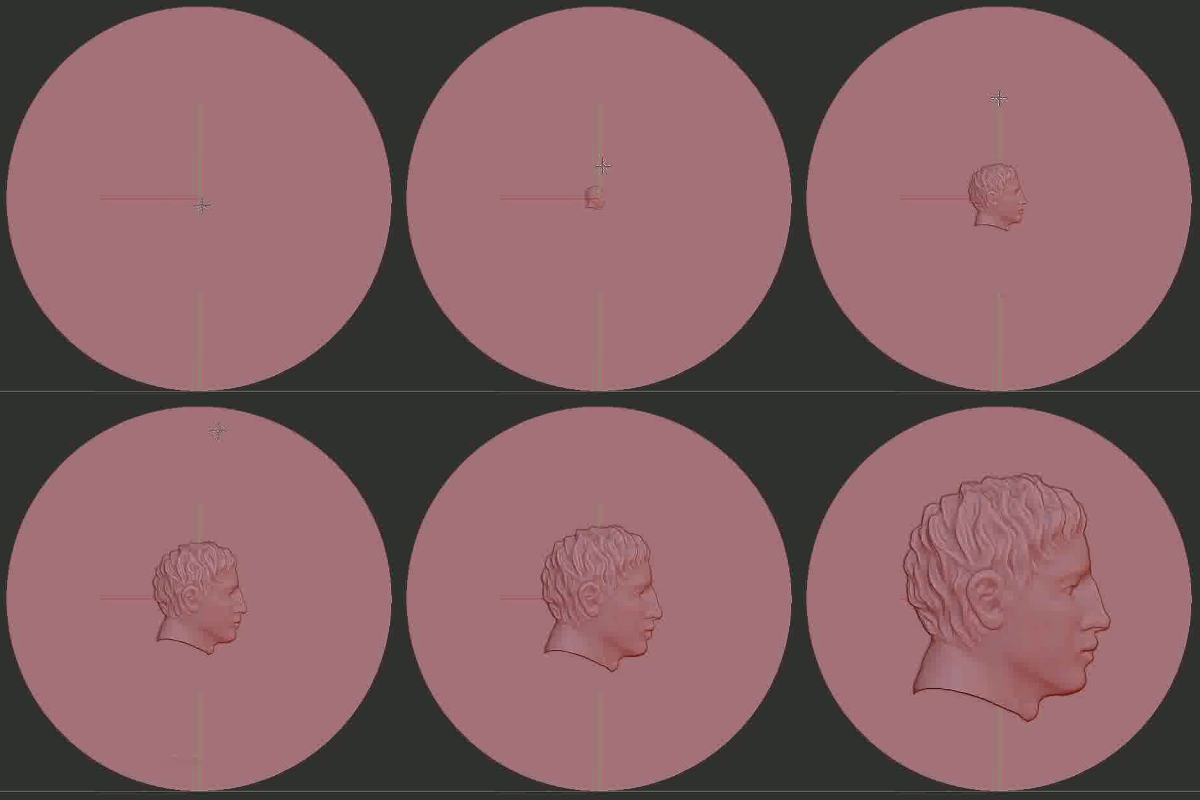
I then used the symmetry options to do the pourtour of the coin, before leveraging the move tool and some other brushes to create a bit of wear and tear. I also made a few attempts at adding finer details like erosion but finally decided not to do so to keep the look relatively simple.
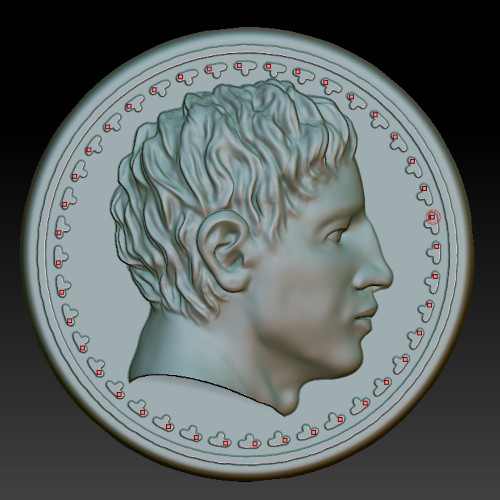
I finally rendered the coin, applied a few filters and adjustments in GIMP to get the current look and I was done! I hope you enjoyed this post.
