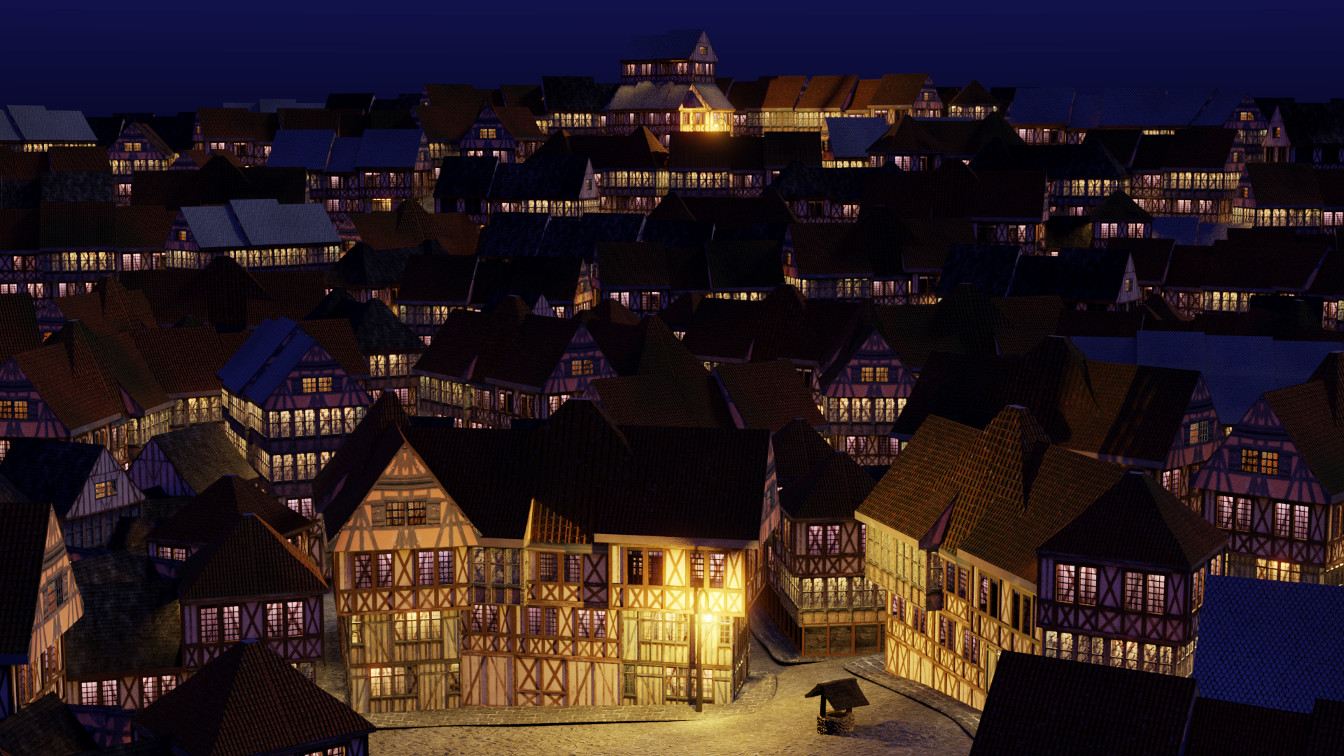
Exploring Computer Graphics: Modelling an Old Town in Blender
I recently had a look at the new release of Blender, and was amazed by the progress made since my last use 8 years ago. I had already been amazed by this tool when in high-school, but the new features got me really excited: I sometimes can’t believe an open software can be so good and powerful. After watching a few videos and tutorials showcasing the new features, I couldn’t resist experimenting with the new ray-tracing engine introduced in the 2.8 version.
A ray-tracing engine works by sampling, for each pixel of the image, several light rays coming from the camera and bouncing randomly on the surfaces they meet. Every surface on which a light ray bounces contributes a bit to the final pixel color. This is a very good approximation of reality, and gives photorealistic results when the sampling is high enough.
When I used it 8 years ago, Blender mostly worked with rasterization, which tends to give less photorealistic results unless you develop advanced techniques to simulate global illumination, reflection, etc. My understanding is that today, rasterization is mostly used for real-time rendering because it is less computationally intensive and most importantly because it suits graphic cards better.
For a small explanation of the difference between rasterization and ray-tracing, you can read this blog post.
I got really inspired by some of Ian Hubert’s videos (see this one about modelling buildings, and more generally have a look at the lazy tutorials) and decided to model an old, medieval-like town. I wanted to keep things simple and efficient so I decided to model a small collection of basic building blocks (literally), which I would assemble to create a variety of buildings.
Blender had drastically changed with the release of 2.8, so I had to (re-)discover a lot of things, but it proved very fun and I learnt a lot in the process.
I started by creating the basic building blocks using a technique similar to what is shown here. I first looked up some images of timbered houses on the internet, then projected one such image on a plane to start modelling a wall. By using the image as a guidance, I cut and extruded faces to add details like wall timbers or windows, adjusted the UV coordinates, added more details, etc. I kept the models very low-poly, and at some point wondered if it was actually worth extruding the timbers at all because the buildings were supposed to be seen from some distance, but it proved useful later when I placed some of them close to the camera. As I had modelled the windows I could also play with transparency and lights later in the process.
Finally, I duplicated and rotated the wall, added a floor and a ceiling, and here I was with my first building block! I repeated the operation to get a small collection of blocks, and did something similar for the roofs, but starting from a cube this time. After a bit of work, I had at my disposal a small collection of basic elements with which to create my buildings.
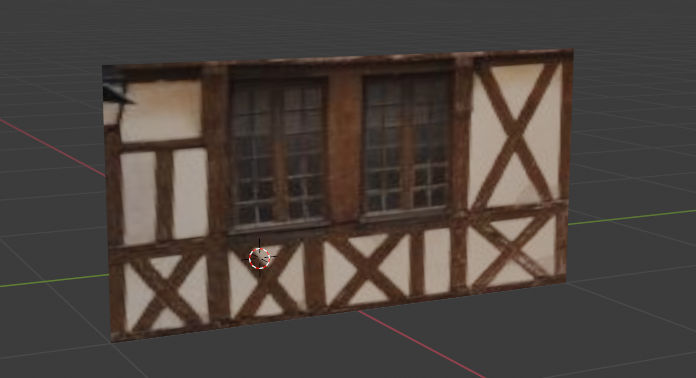
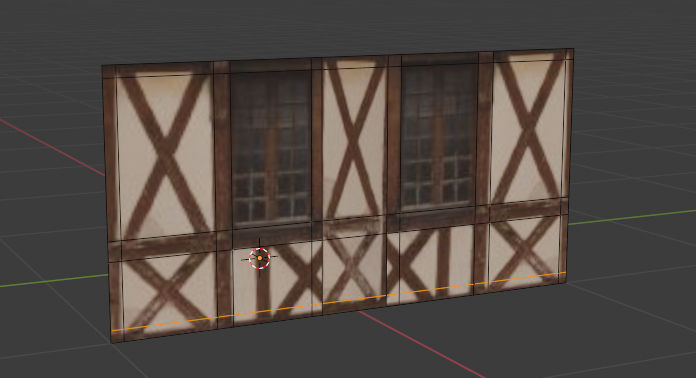
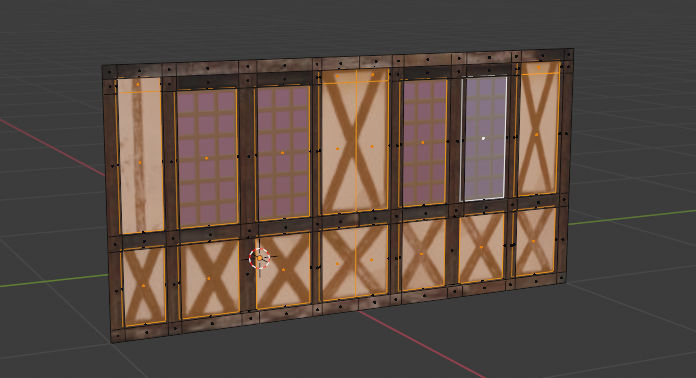
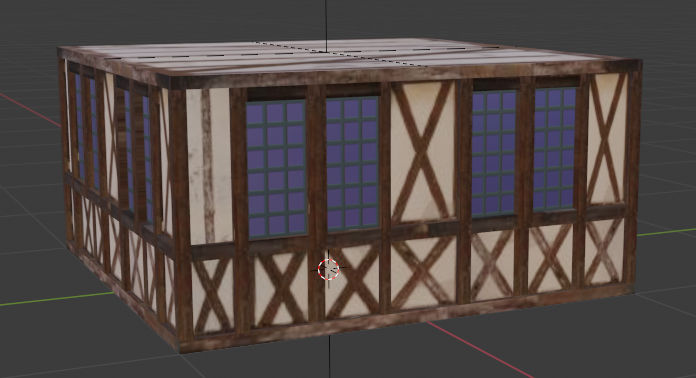
At this point, I heavily relied on the use of collections and collection instances to make sure I could easily update any of my assets and get the changes propagated to the whole scene. It proved very convenient when I worked on the interior lights afterwards.
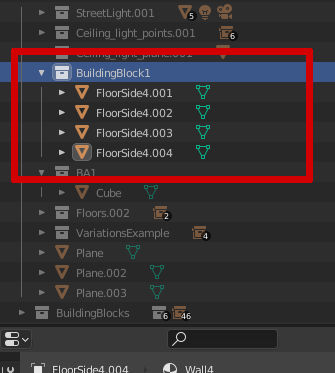
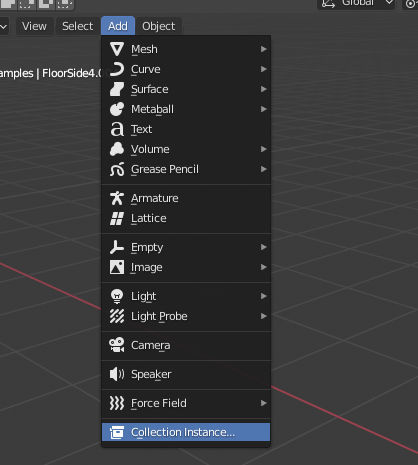
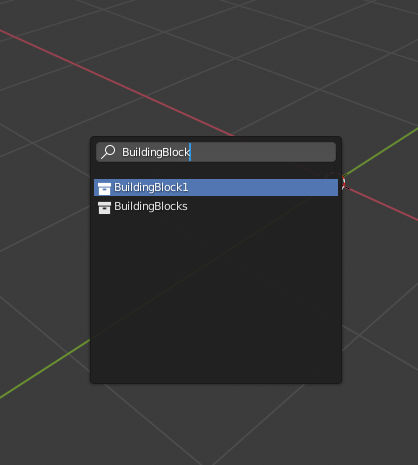
Add/Collection
Instances
and look up your
collection by its name to create an instance.
Any change performed on the original collection
will be propagated to its instances.Assembling a small collection of buildings from those basic assets was then quite straightforward. The result is of course a bit cheap, but the idea was to get quick results.
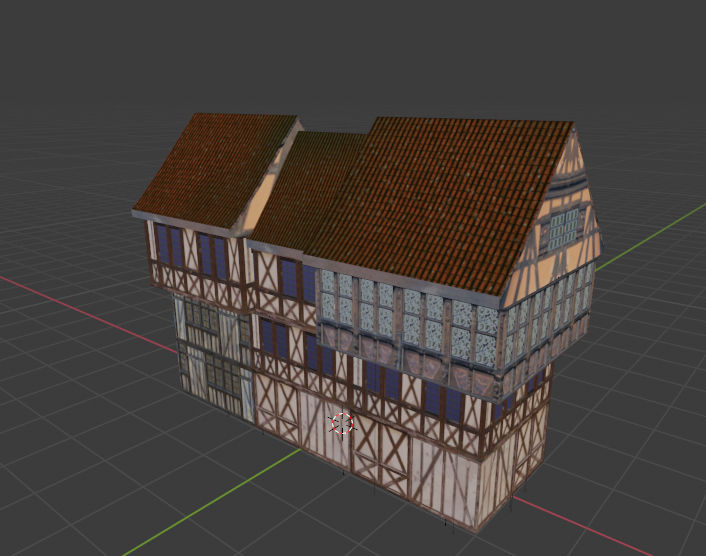
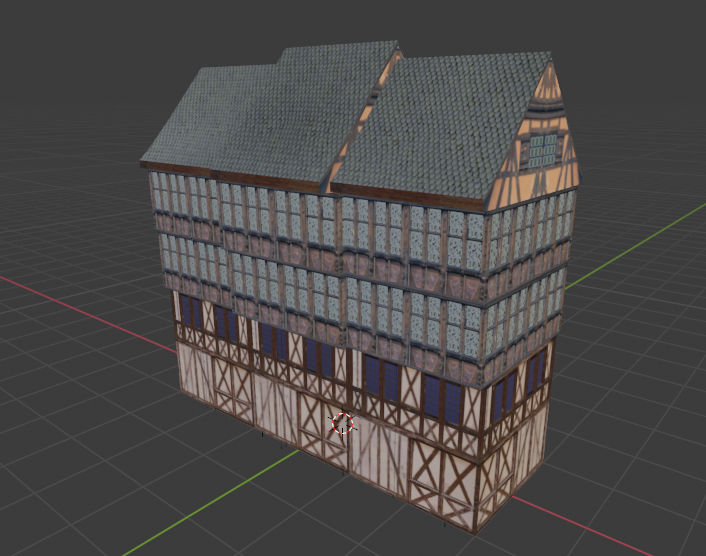
In order to introduce diversity in the buildings, I decided to alter a bit
the texture of the roofs, which are otherwise very boring.
Next time I do a similar work, I’ll spend some time adding details to this kind
of elements, but for this project it didn’t seem pertinent.
I thus simply used a Perlin noise texture to alter the roof diffuse colors
by means of a MixRBG node in the shader graph.
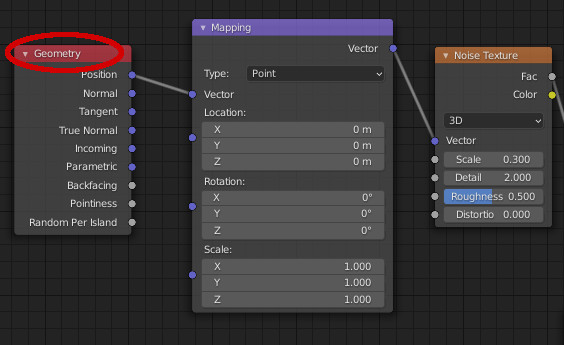
It generally use a TextureCoordinate node to control the placement of the
texture, but in this case I took care to use a Geometry node instead, so that the
noise would be different from building to building, depending on its position in
space.
As in the end I did a night scene it… didn’t prove so useful, though.
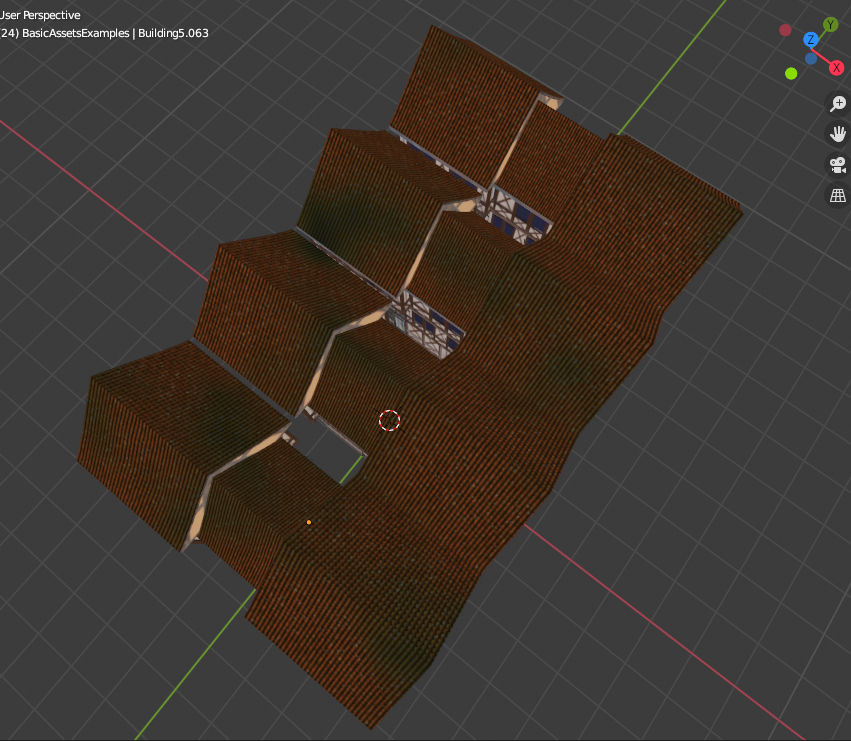
As I find it more interesting, I decided to place the town on a hill. I shaped a very simple hill on a grid by using the sculpture tools, and that worked just fine for my purpose - the terrain was merely supposed to be a guide for the buildings placement.
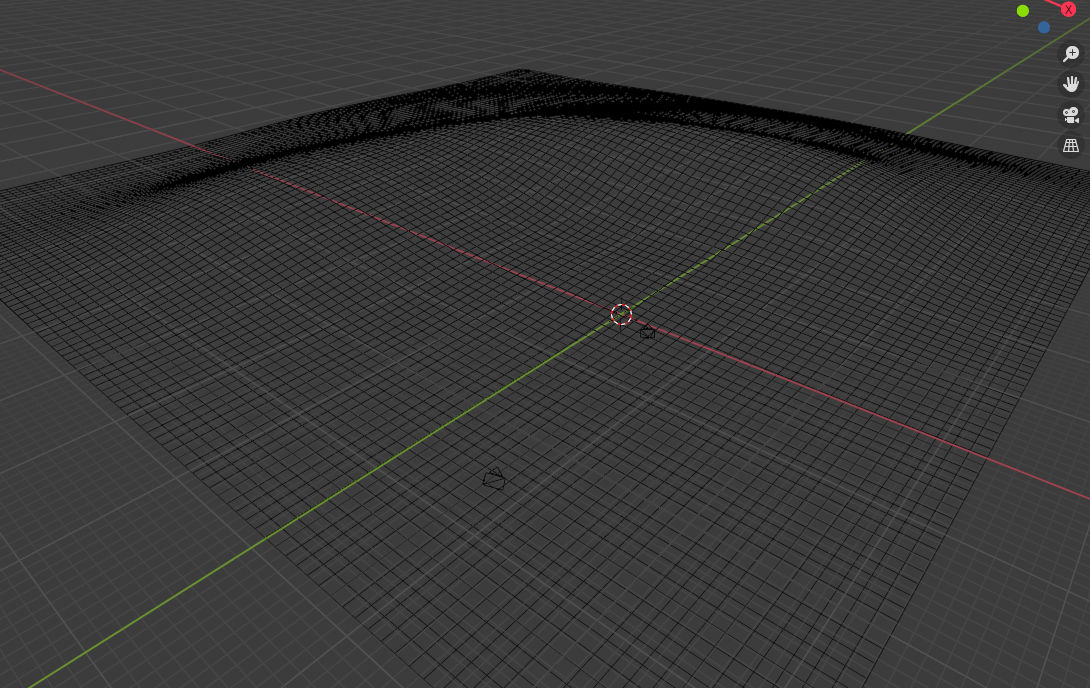
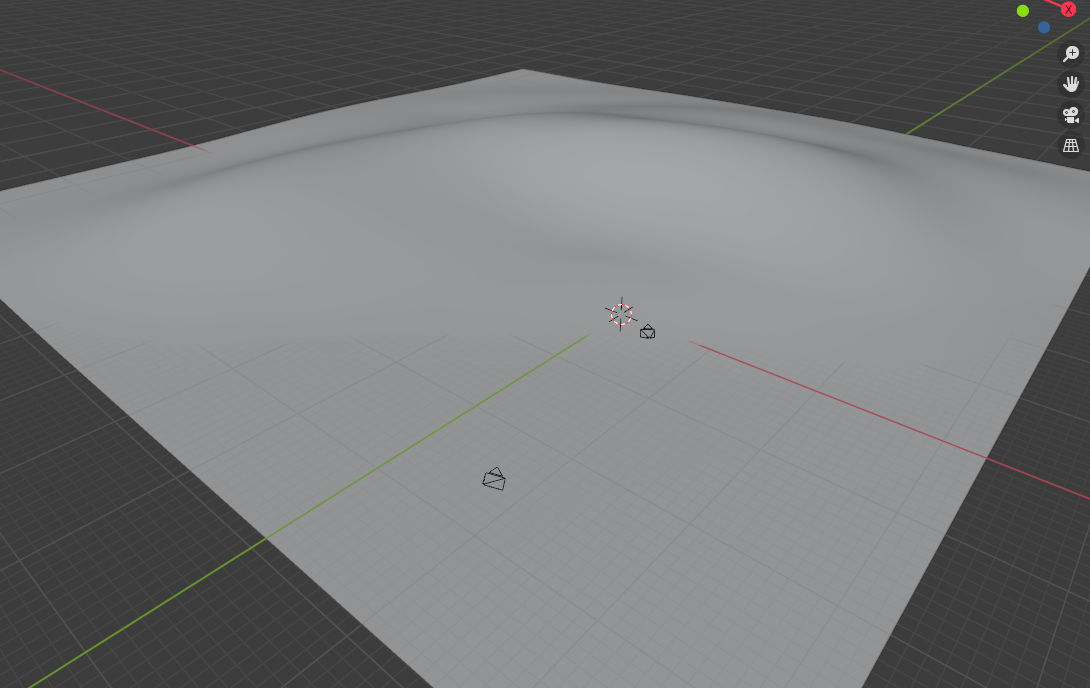
After having followed some videos about procedural terrain
generation (this one is excellent), I had
actually thought of using a displacement map to generate the terrain.
This however proved very inconvenient because it only works with the slow
Cycles engine.
Visualizing my scene and navigating the viewport to place the town elements
thus proved impracticable.
I then thought of using a Displace modifier together with a
baked noise texture, but at this point I realized that when using
any kind of randomness it is very difficult to control the output.
I thus resorted to sculpting the hill by hand.
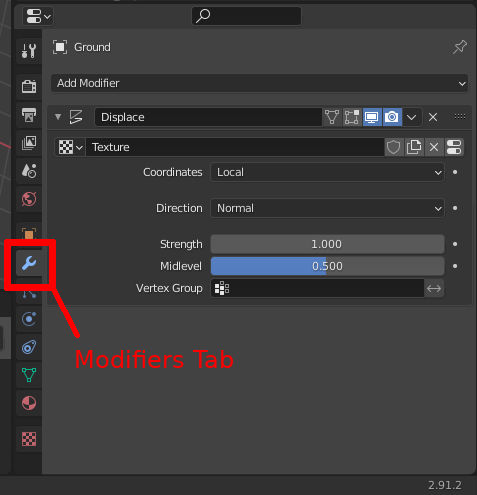
Displace modifier,
simply go to the Modifiers tab and click
Add Modifier. There is a nice collection
of modifiers to play with, including: multiresolution, boolean, decimate, smooth...When I had to texture the terrain, I noticed that even if only a small portion of the ground is visible, it is quickly obvious that I use a seamless texture which is repeated over and over again.
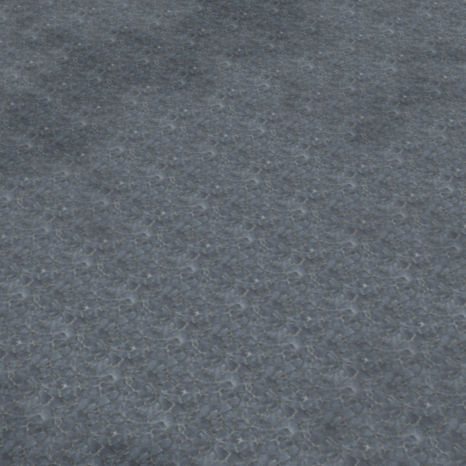
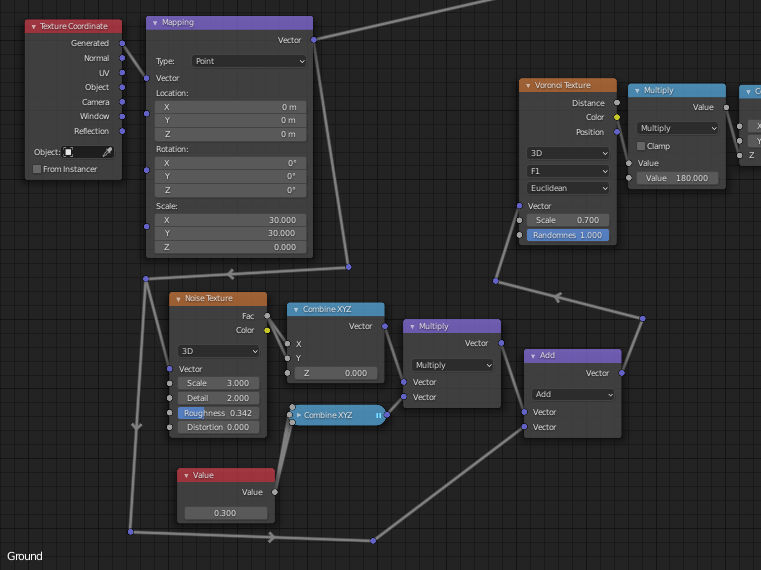
Fortunately, there are some simple solutions to that, and I got inspired by this video from Blender Guru: instead of tiling the texture, just use a noise input, Voronoi here, to locally and randomly rotate the texture. I didn’t have a look at the .blend file provided in the video, but I did the following which does the job well.
I simply use the color output of the Voronoi texture, which I convert into a grey value between 0 and 1. I then multiply it by 360 to cover all the possible angles, and use it to control the rotation around the Z axis:
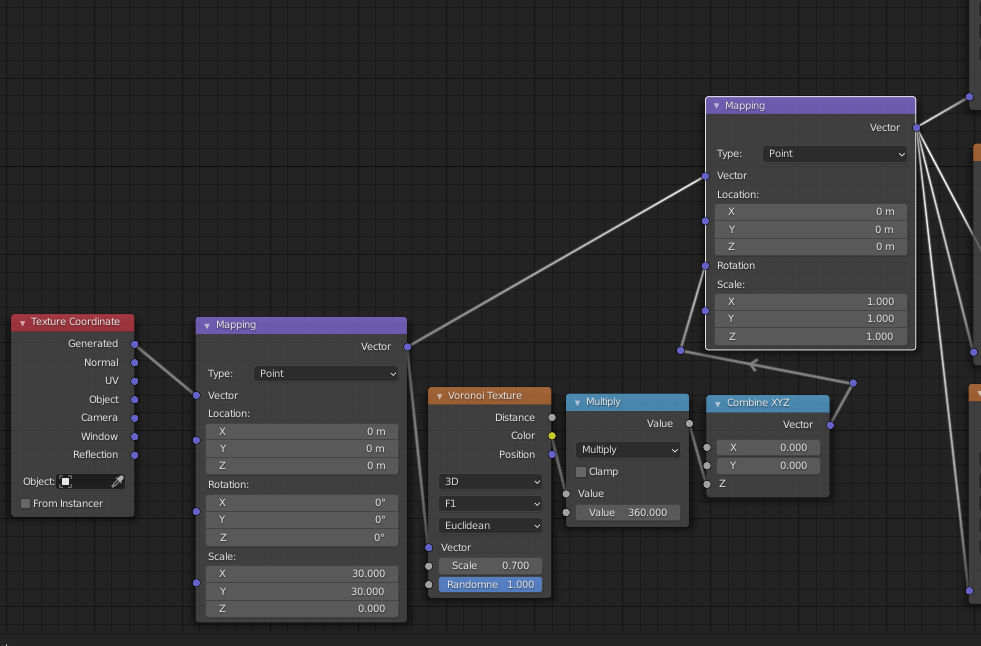
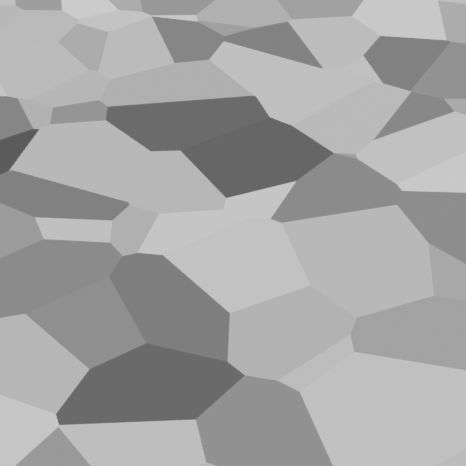
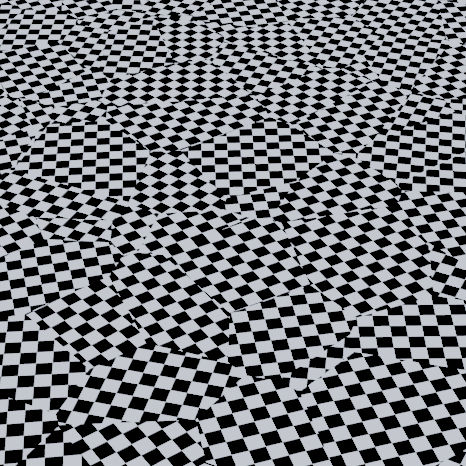
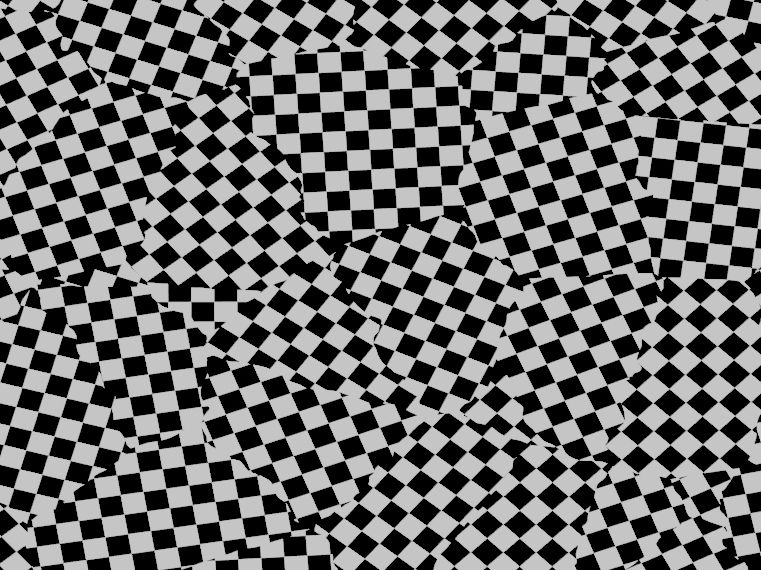
Below, we can see on the left the voronoi values as shades of grey, and on the right the result of using those values to rotate a checker texture. Here, the changes between the different areas are straight and sharp, but it didn’t prove to be a problem when using the pavement texture.
There is a neat improvement between tiling the pavement texture (on the left) and applying random rotations (on the right). On the first image the repetition is very clear and unpleasant. On the second one, it is possible to spot some patterns like the wite dots, but the repetition is a lot less obvious. Note that I also made the terrain darker in some areas by using Perlin noise.

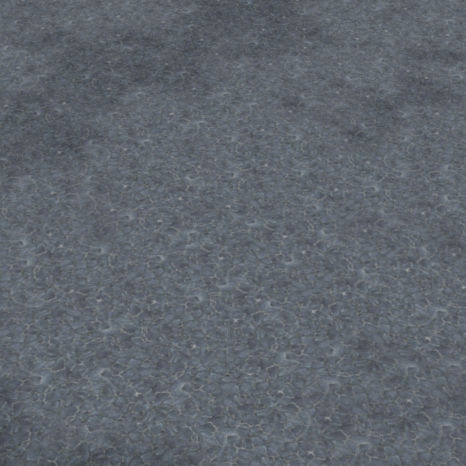
If you are really annoyed by the straight changes between the different areas, it is possible to make them curved by perturbating a bit the input position you give to the Voronoi texture. You can see a possible setup below, and the result. From there, I think it is possible to experiment a bit more to have smooth transitions - smooth the result of applying the rotations, not the rotations themselves: it would give strange results.
At this point, I placed the buildings on the hill to create my composition. It actually proved more difficult than I thought, and I had to redo it several times, as well as some buildings, before getting something decent.
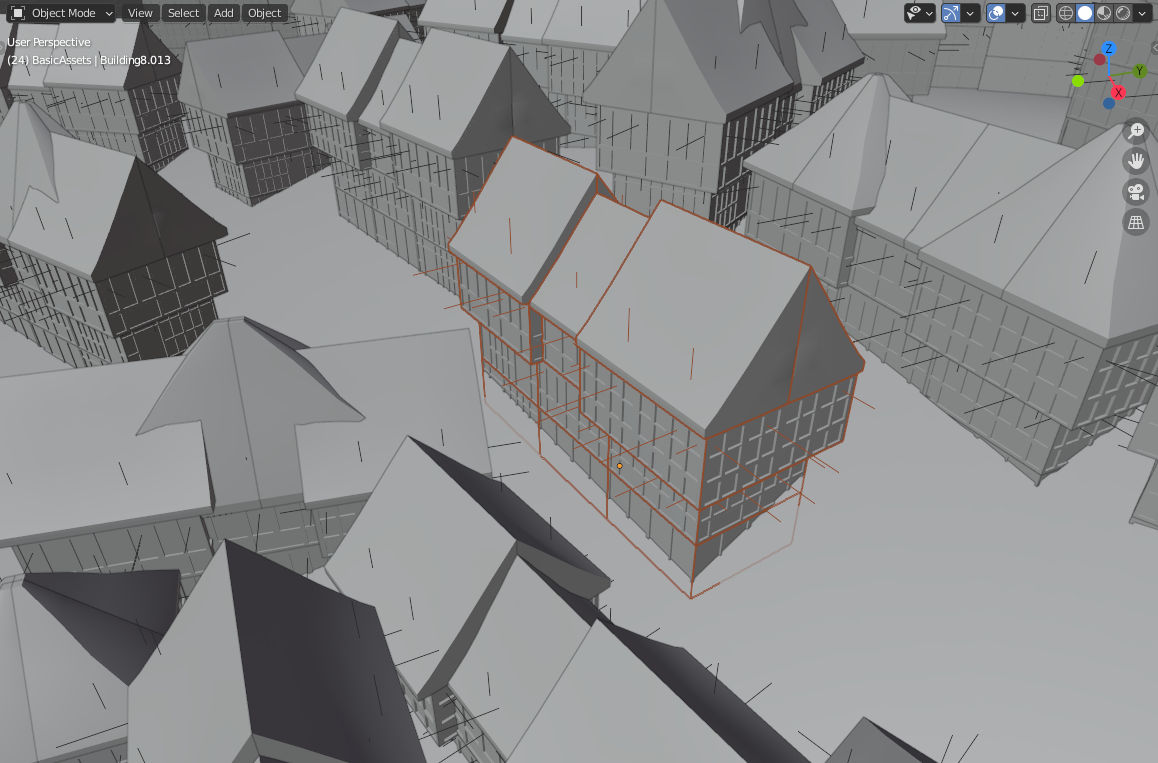
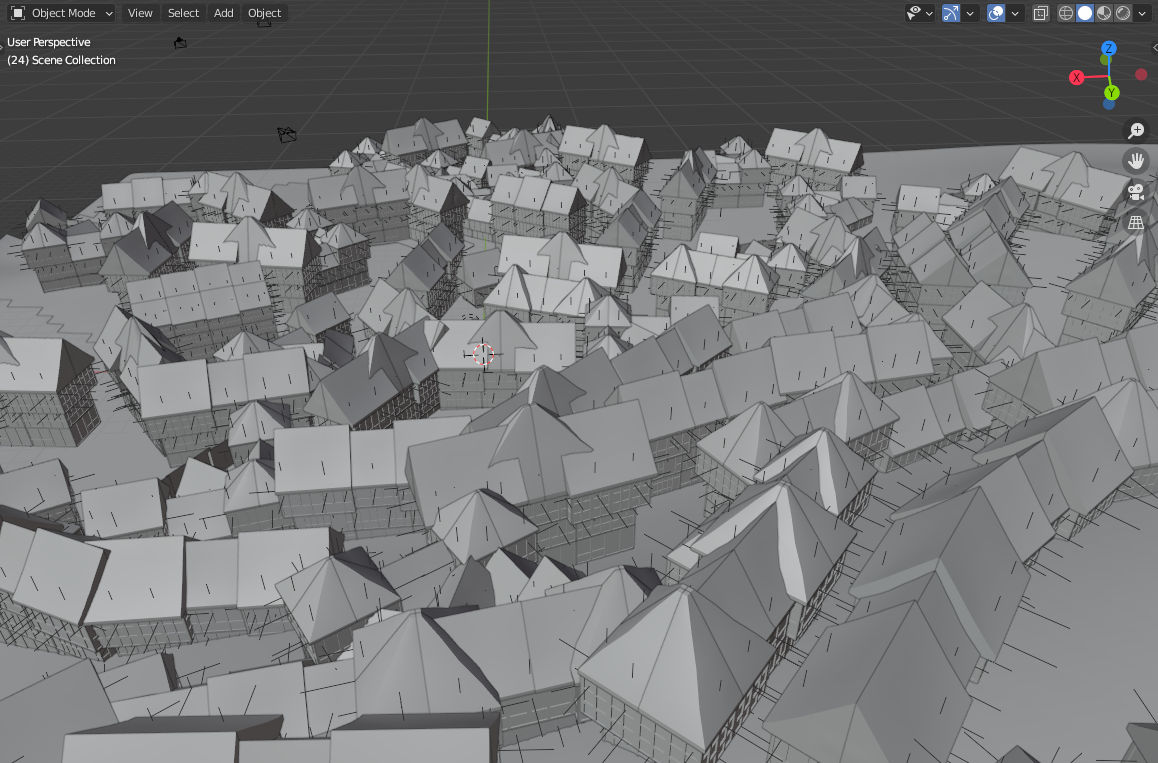
I then moved on to setting up the lights, and opted for a night scene because it seemed interesting to work on.
I wanted to have interior lights in the buildings. I started by creating a collection for a small set of lights which would illuminate one building block. This collection would be duplicated everywhere. I took care not to place all the lights at exactly the same positions on every face of my block: this way I could get a non uniform lighting on the facades of the buildings by rotating or mirroring my basic blocks.
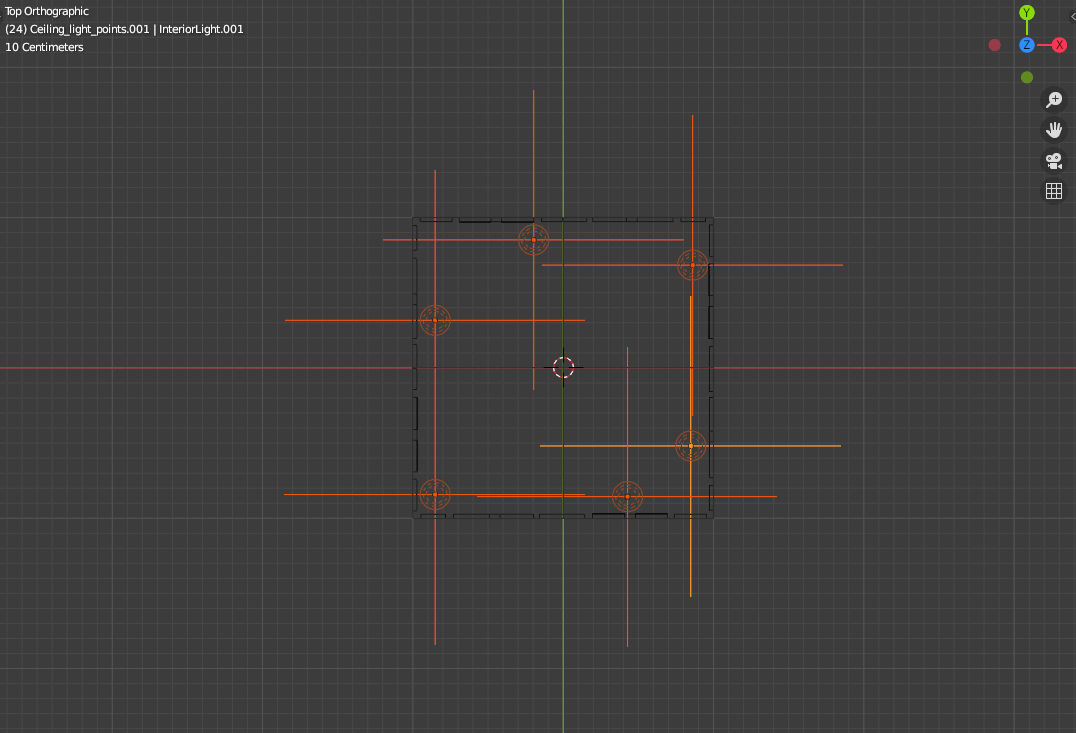
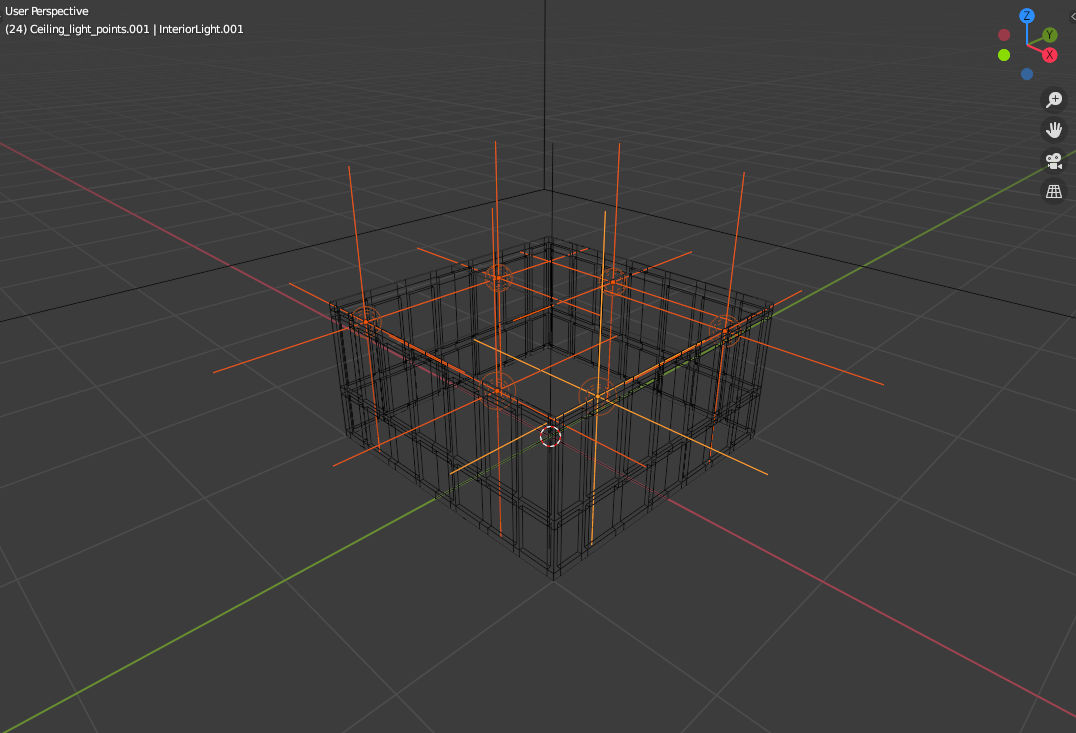
However, it didn’t work so well because with those hundreds of point lights in the scene, the render time became terrible: rendering a full resolution image with a decent amount of noise would have taken 24h on my personal laptop. I thus decided to use emitters to get a faster render.
Lights in Blender seem to have a treatment of their own, different from emitter objects (objects which use an emitter material, and thus cast light). In theory and as far as my knowledge goes, when point lights are actually not points but spheres like in Blender, lights and emitter objects are fundamentally the same in a ray-casting engine. However, I could read in many forums that rendering a lot of point lights is a bad idea, but no explanation about the way the computation is actually done.
An interesting thing is that, for the same number of ray samples per pixel, an image using emitters has more noise than one using point lights, forcing you to increase the sampling. For an image with few lights, the render time to get an equivalent image quality is thus higher when using an emitter. When there are a lot of lights however, the computation induced by the lights explodes for some reason, making the use of emitters with a higher sampling a lot cheaper.
I guess that for every point Blender tries to compute the light intensity received from every light in the scene, instead of simply relying on the random bounces to (potentially) hit the lights. That would make sense as the lights tend to be small while being very intense emitters at the same time, making computations slowly converge towards the result: you have a small chance to hit a light, but when you do so, you get a very high light intensity; you thus need a lot of samples to average the result. If you know precisely how all this works, don't hesitate to drop me a mail: I'm definitely interested.
In order to add more randomness and experiment a bit, I decided not to replace
the point lights by spheres with an emitter material.
I instead created a “light ceiling”:
a plane with an emitter material whose intensity is controled by a Voronoi
texture adjusted with a color ramp. Once again, by using
Geometry.Position as input, like with the roofs, I control the Voronoi with
the position of the
buildings, thus introducing variations between the different facades. Note that
below I use the distance component of the texture, not the color component:
hence the difference with the random rotations above.
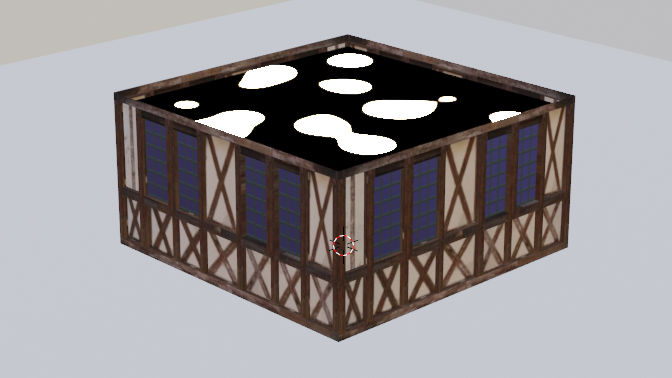
The resulting render looked good to me (note that the sampling is quite low, hence the noise), and after some adjustments I had reduced the render time of the whole town to approximately 2 hours, which seemed more reasonable.
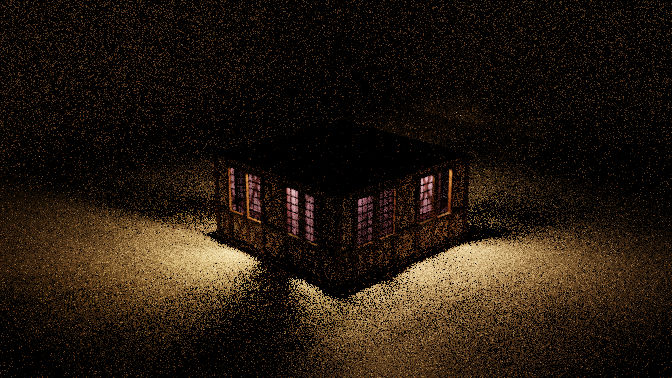
I then decided to add some details to the forefront scene. I quickly modelled very simple assets for a well, a street light and some sidewalks and placed them near the camera.
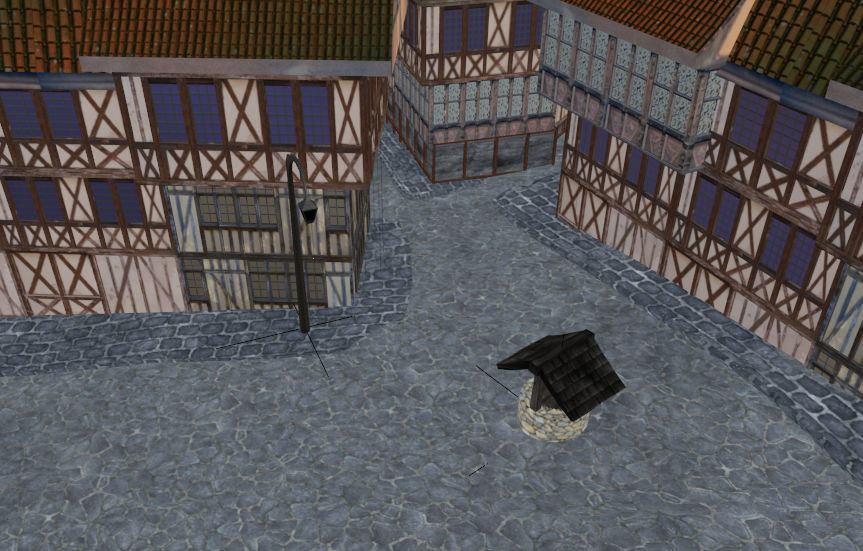
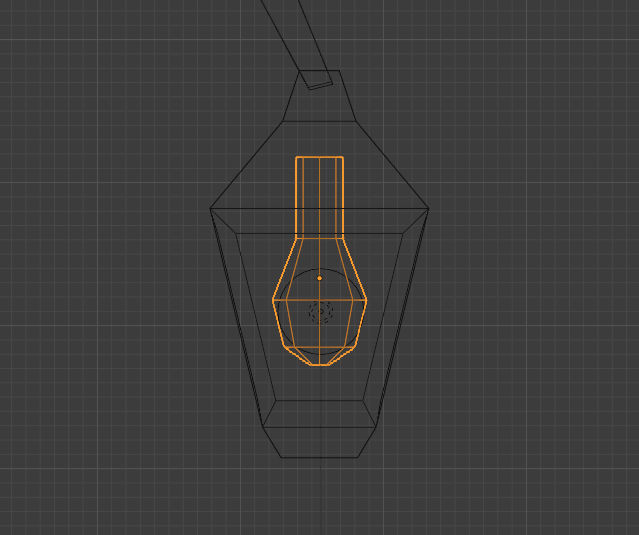
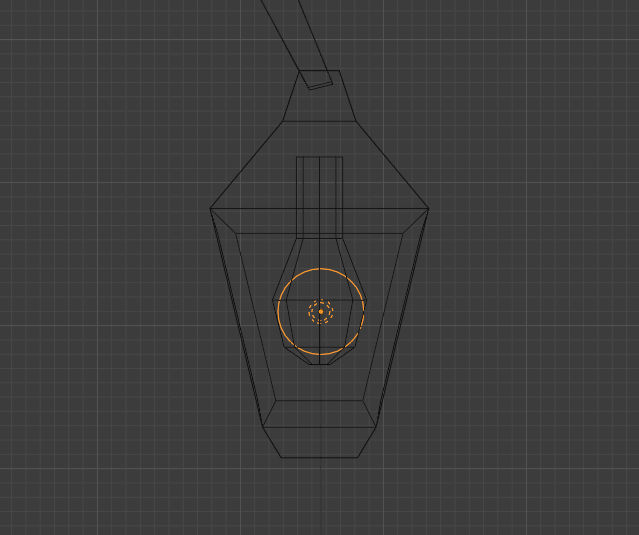
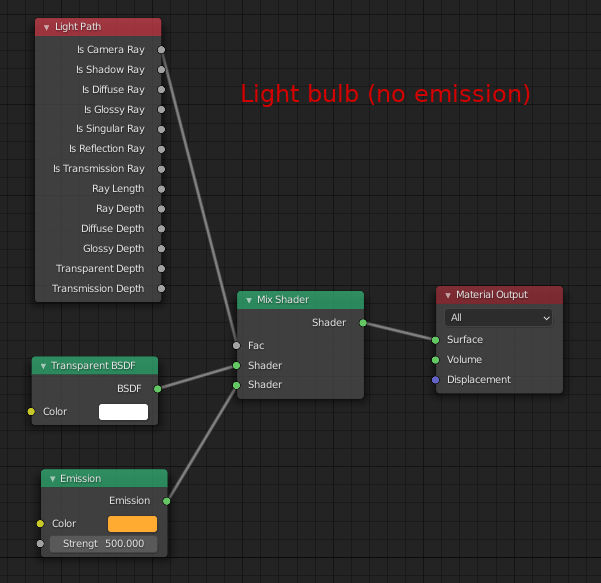
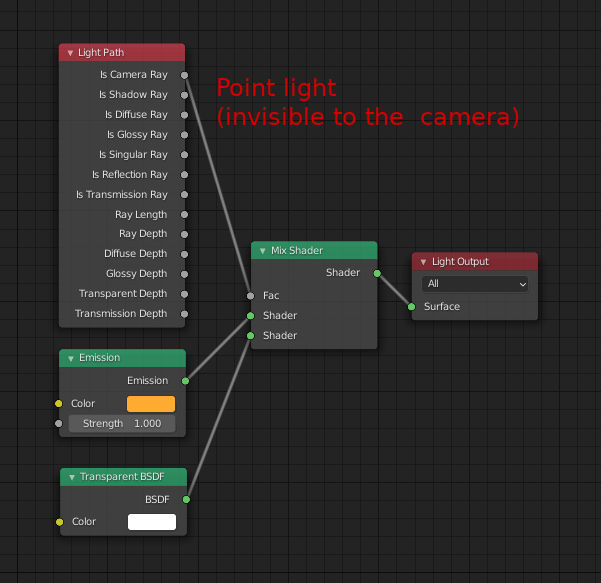
In order to get the street lights actually emit lights, I simply used point lights. I relied on shader nodes to make the light bulb visible to the camera but not actually emit light, while the point light, which emits the light, is invisible from the camera. This way, what we see is the light bulb, which shape is not just a sphere, while we take advantage of the way Blender treats the light to get a clean render at a low cost. You can see the wireframe of the street light below, with the bulb selected on the left and the point light selected on the right. For this scene, it didn’t make any difference in the end because I later applied a blur effect, but I wanted to test this kind of tricks, which can be very useful.
The shader nodes are displayed below: I simply use the LightPath node to
switch between two shaders depending on whether we are computing a camera
ray or a different type of light ray.
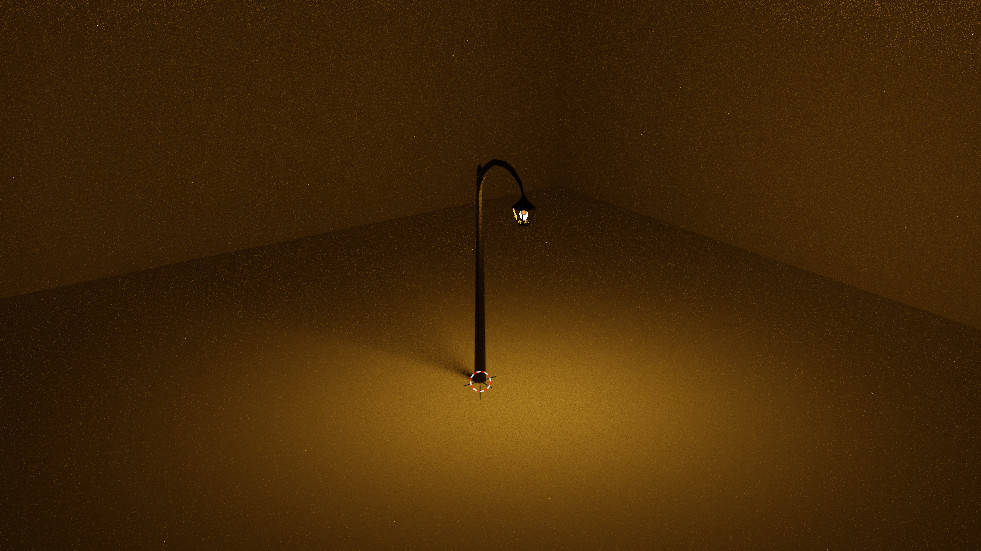
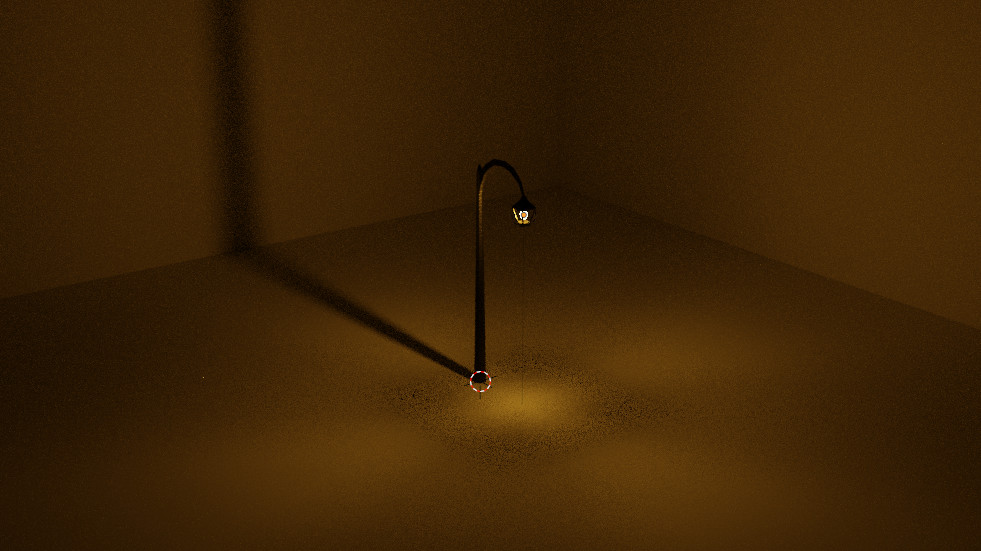
When I started modelling the street lights, I didn't know that point lights are less noisy than emitters, and I hadn't had much problems with butterflies yet. I thus simply applied an emitter material to my light bulbs, and guess what? I got a lot of butterflies (see the bright dots below, which are computation artefacts)!
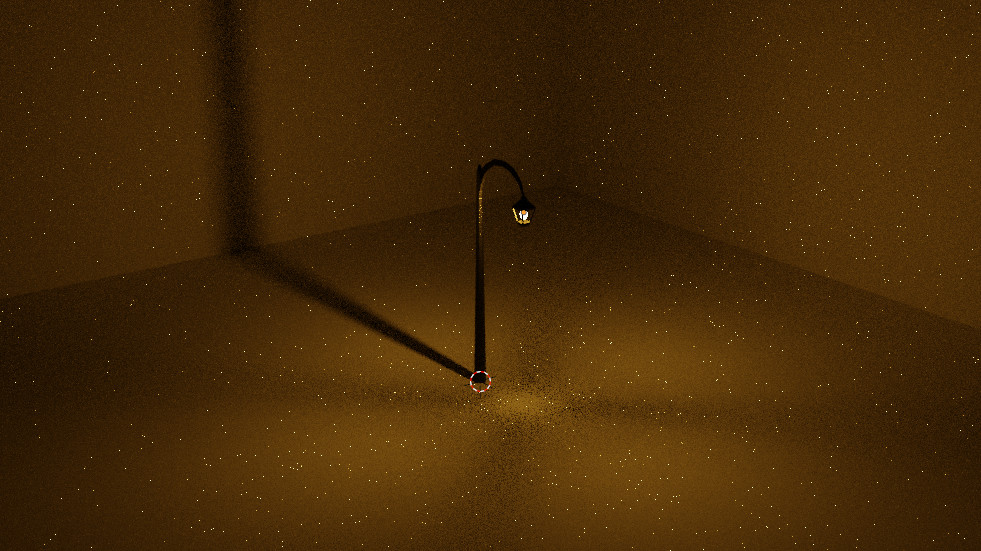
I thus searched on the internet for solutions and eventually found this very good post which, however, doesn't mention the difference between emitter materials and point lights. It notably mentions the fact that small objects generate more noise and butteflies, for the reasons described previously.
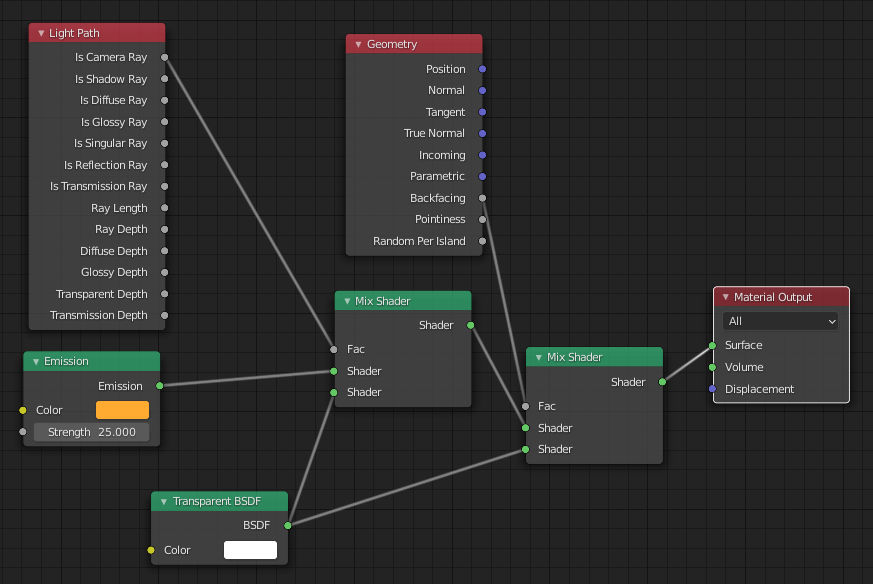
I thus decided to combine my small light bulb with a bigger emitter: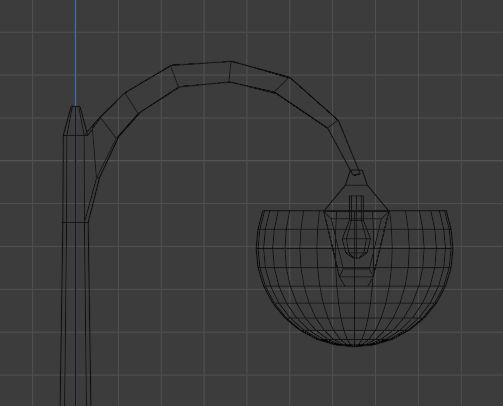
- invisible from the user
- cast light outwards (and not inwards)
- block the light from the light bulb (which then only illuminates its immediate surroundings)
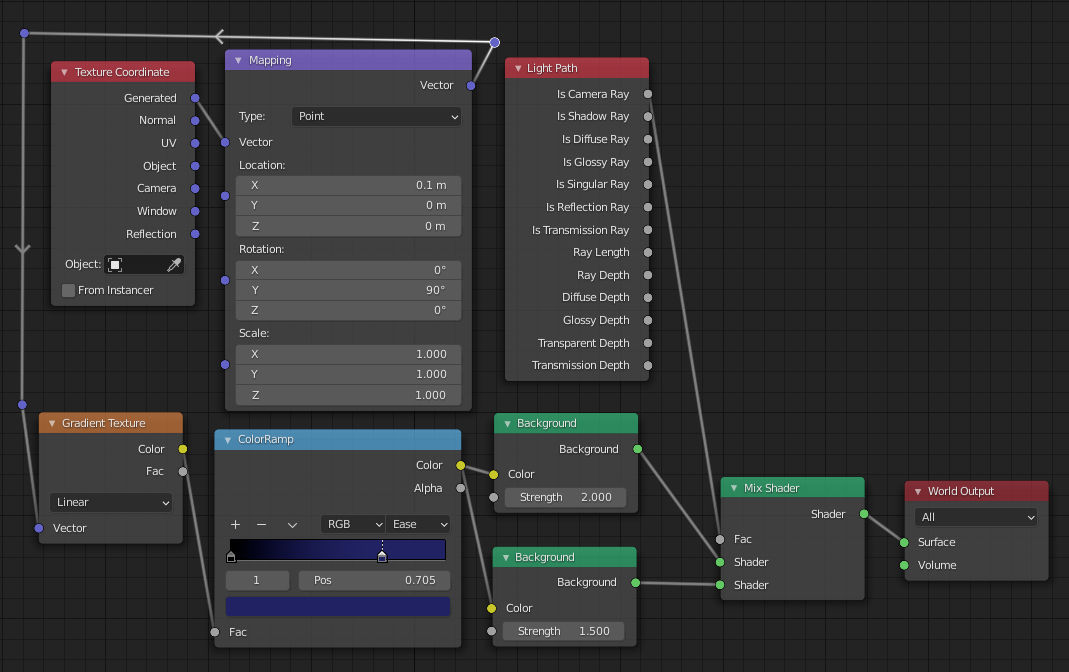
I finally used a gradient to create the sky (shader graph below), added a directional light to
account for the moon, which at some point I hesitated to bake directly in the sky,
and I was done. Note that I once again used a LightPath node to
control what the user sees: the sky illuminates the scene slightly more than it
should. This is a trick I found in this excellent
procedural clouds tutorial video.
Note that in this situation it is possilbe to achieve the same result through compositing.
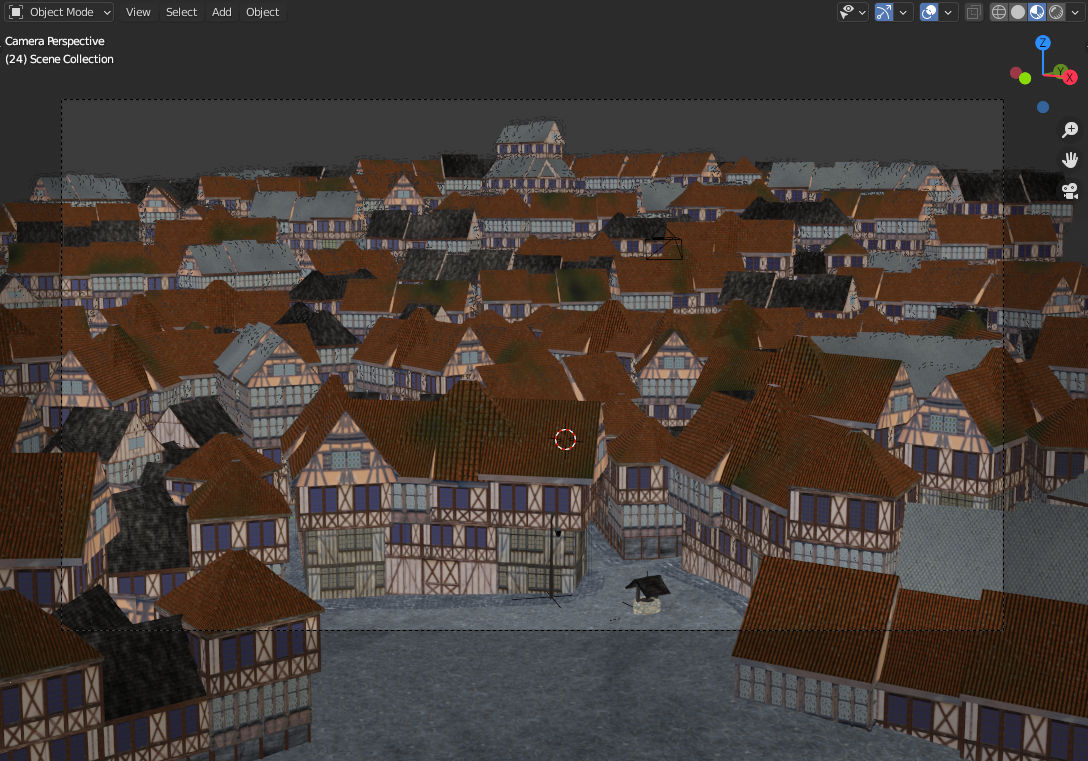
As you can notice in the final scene below, I didn’t pay much attention to colliding elements: everything is placed to look good only from the point of view of the camera. It worked fine here, but next time I think I’ll compose my scene more coherently, because in the below setup you can’t move the camera at all without revealing a huge amount of problems…
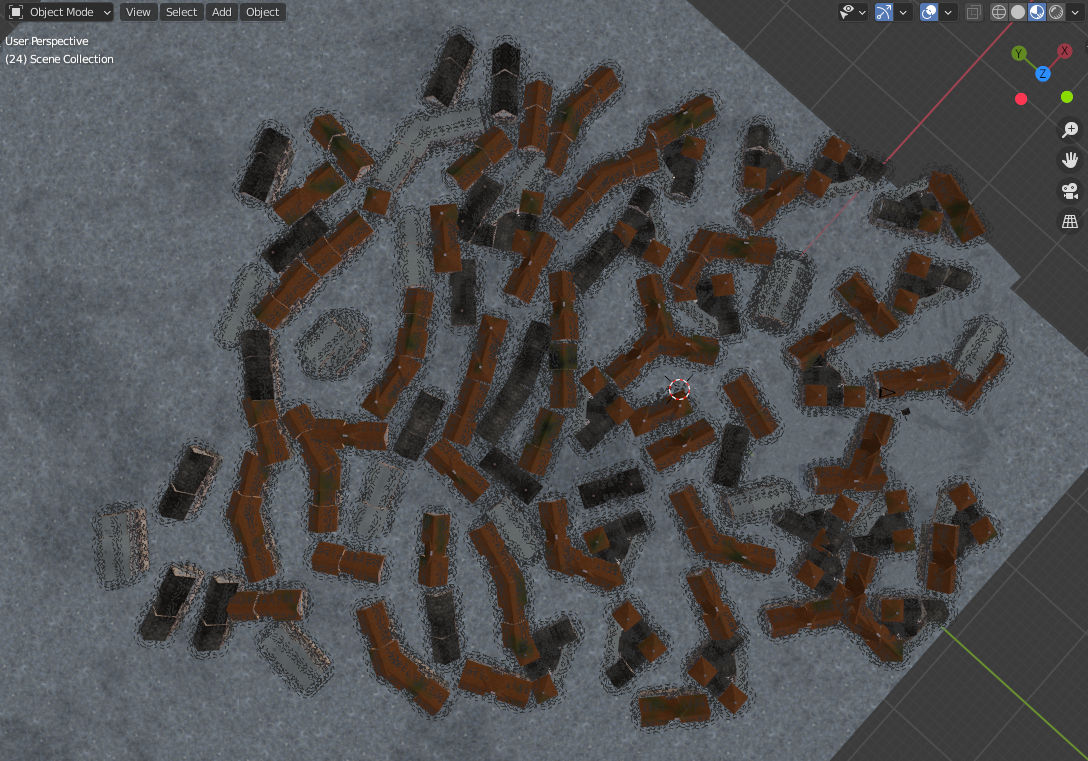
Also, I guess this is another good reason for being more coherent with the elements' placement, and not do everything just from the camera's point of view. For instance, at some point the scene seemed alright, but once I rendered all the lights I noticed that one of the buildings was illuminated in a very strange manner by one of its neighbours. The reason was that the two buildings were closer from each other than what it seemed from the camera's point of view.
I decided to render the lights in several passes, to have more control on the final image. This proved very useful because the the interior lights pass takes some time to render. By rendering it separately I could easily use the compositer to control, say, the intensity of the lights relative to the sky illumination or the street lights, without having to re-render everything.
The process was very manual as I toggled by hand the activation of the lights before starting to render. I intend to learn how to do this automatically in the future, by doing some scripting I guess.
I made very simple manipulations with the compositer: I just adjusted the luminosity of the different passes and added some glow effect for the street lights. When working on this post-processing, I noticed it is better to use a format like OpenEXR to export the different passes, because otherwise you tend to lose information. For instance, I had a problem with the glow effect at some point, because the street lights pass was exported as a PNG image: by switching to OpenEXR everything worked smoothly.
